9 New Looks For Your Leftover Roasted Vegetables
Post Thanksgiving you might have one of two thoughts …
What can I do with leftovers?
I’m done with food and I’m battening down the hatchets until Christmas cookies are thrust upon me!
Here’s the good news - there’s no need to go to extremes, my sweet. I’ve got a mealtime strategy that may very well help you with thoughts 1 and 2 because, believe me, I have them too. Frankly, I’m still eating the triple layer carrot cake I made for Thanksgiving dessert and I’m still grazing on stuffing, but I’m also trying my best to pack veggies into my day so I can feel balanced all around. My skin and body are desperate for hydration between this chilly NYC weather and the last few days of standing, cooking and drinking a little too much coffee and wine.
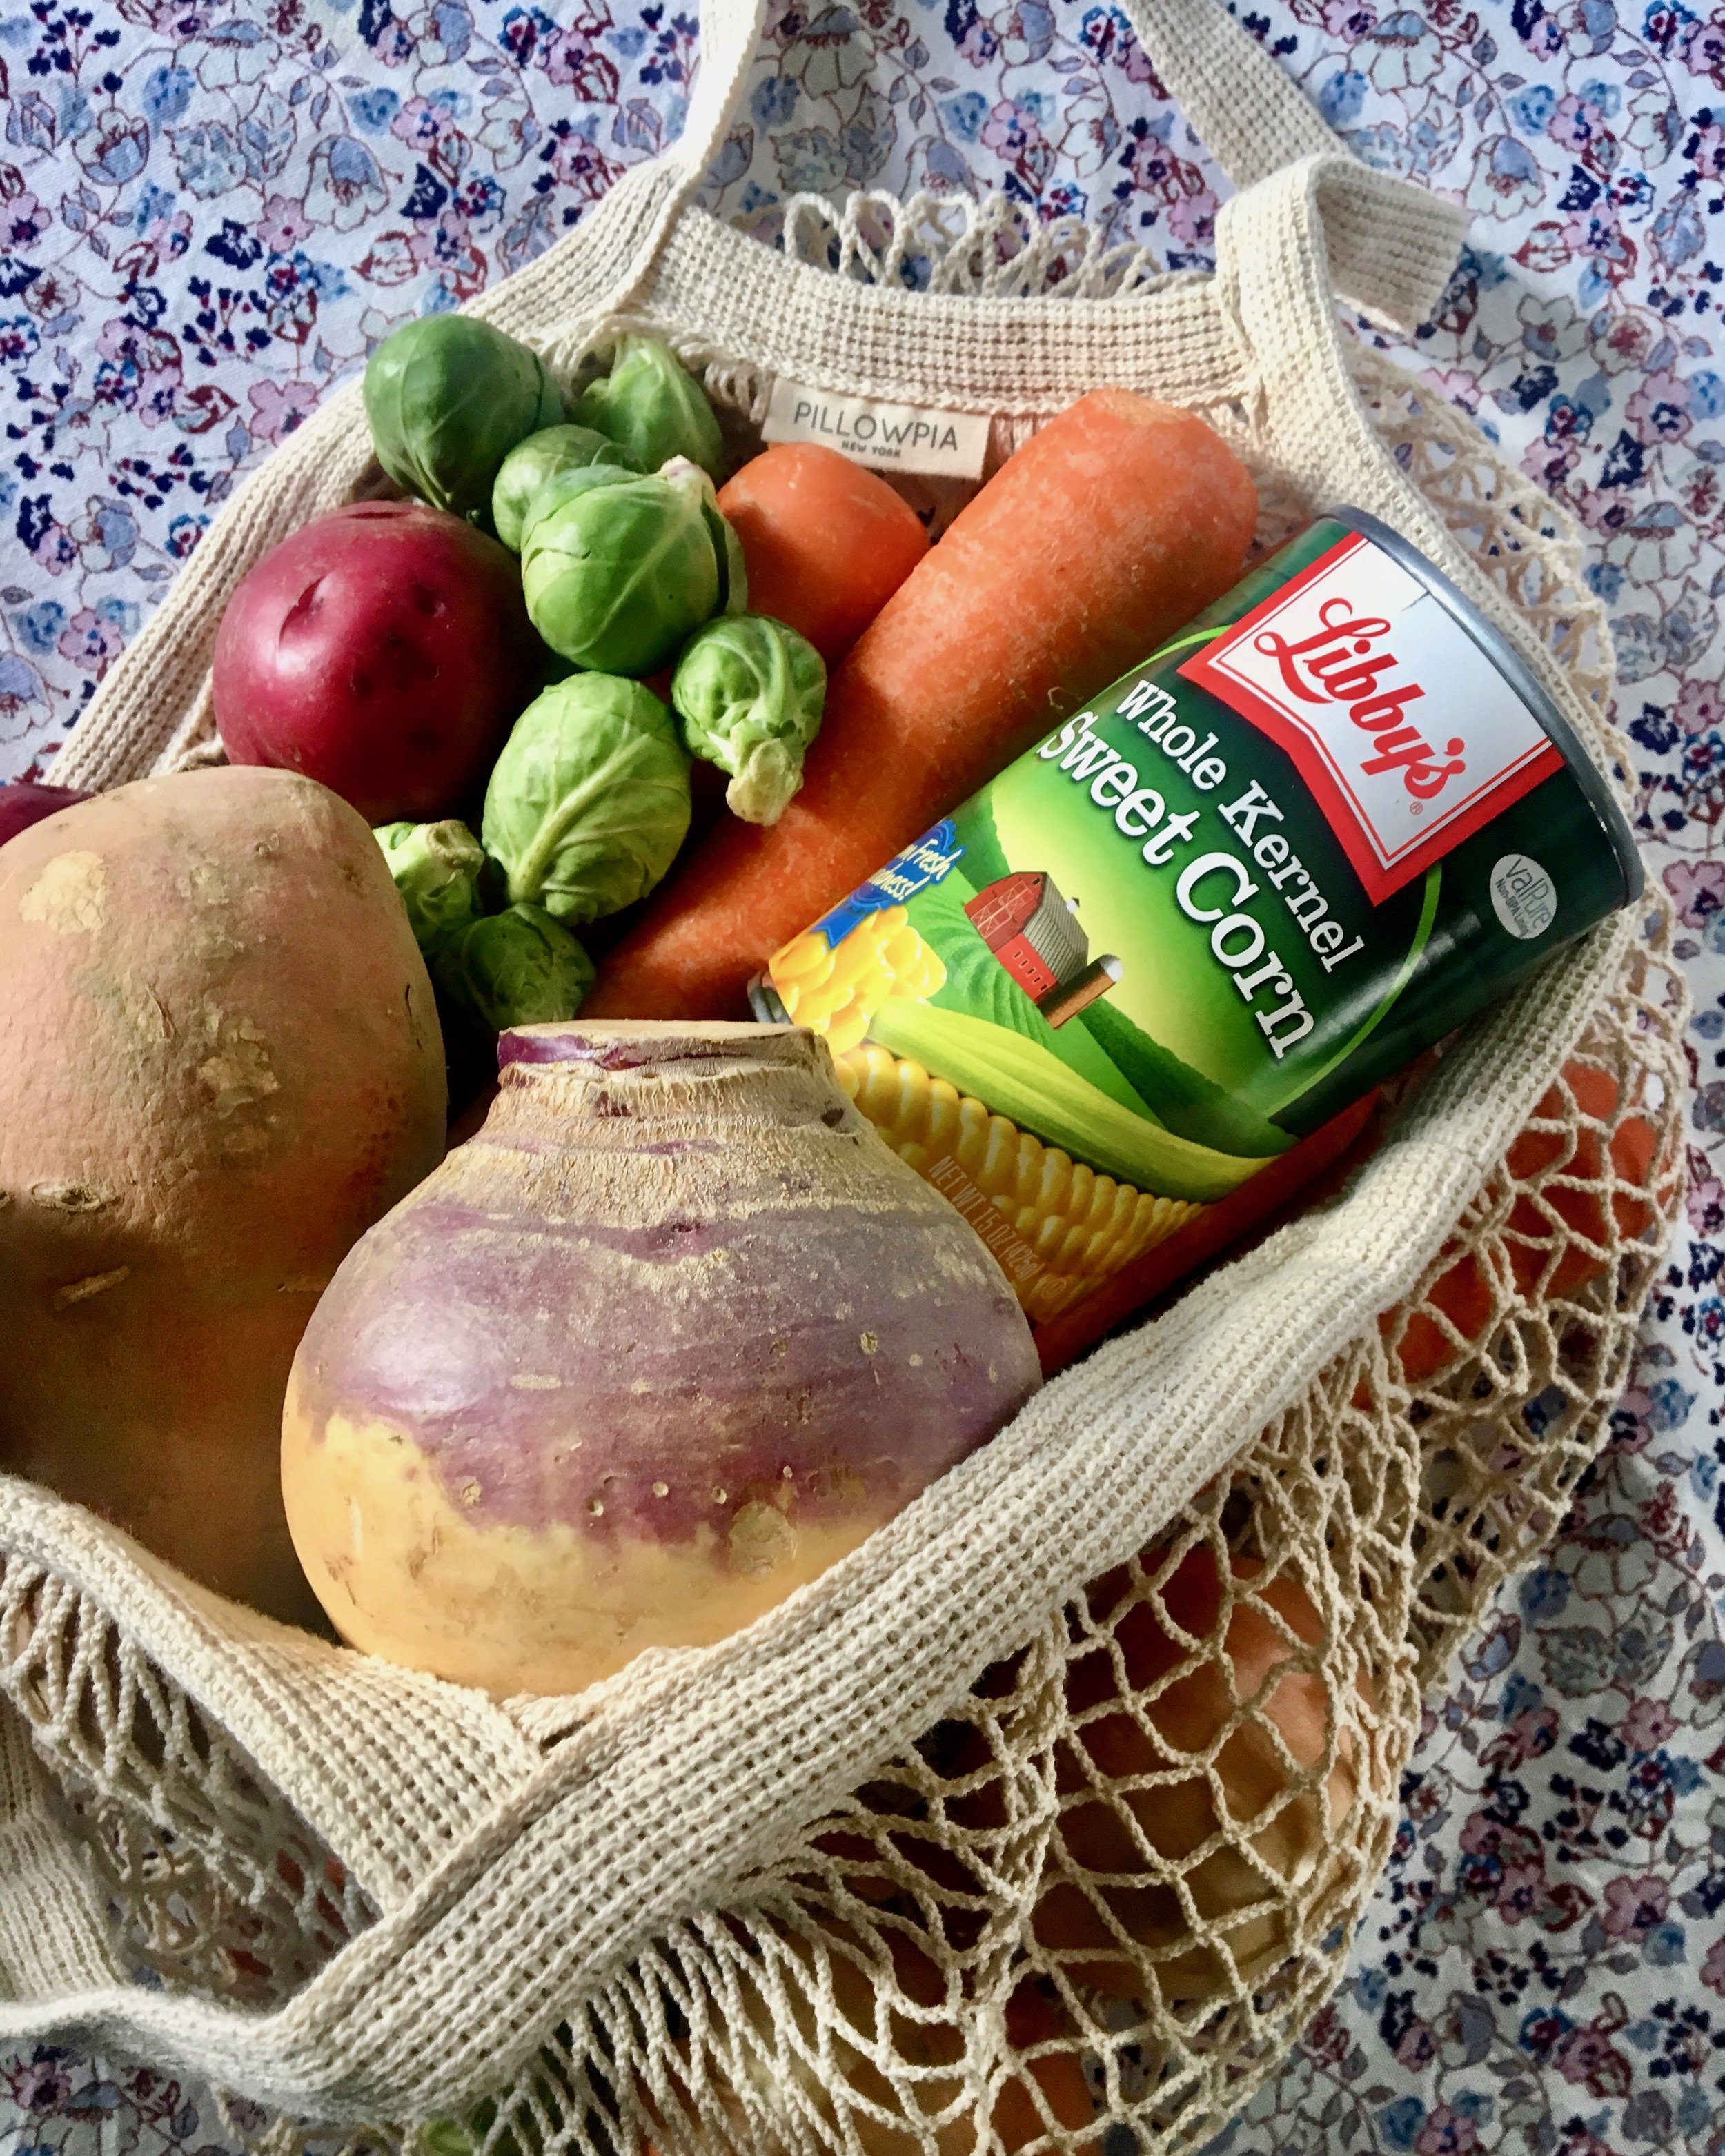
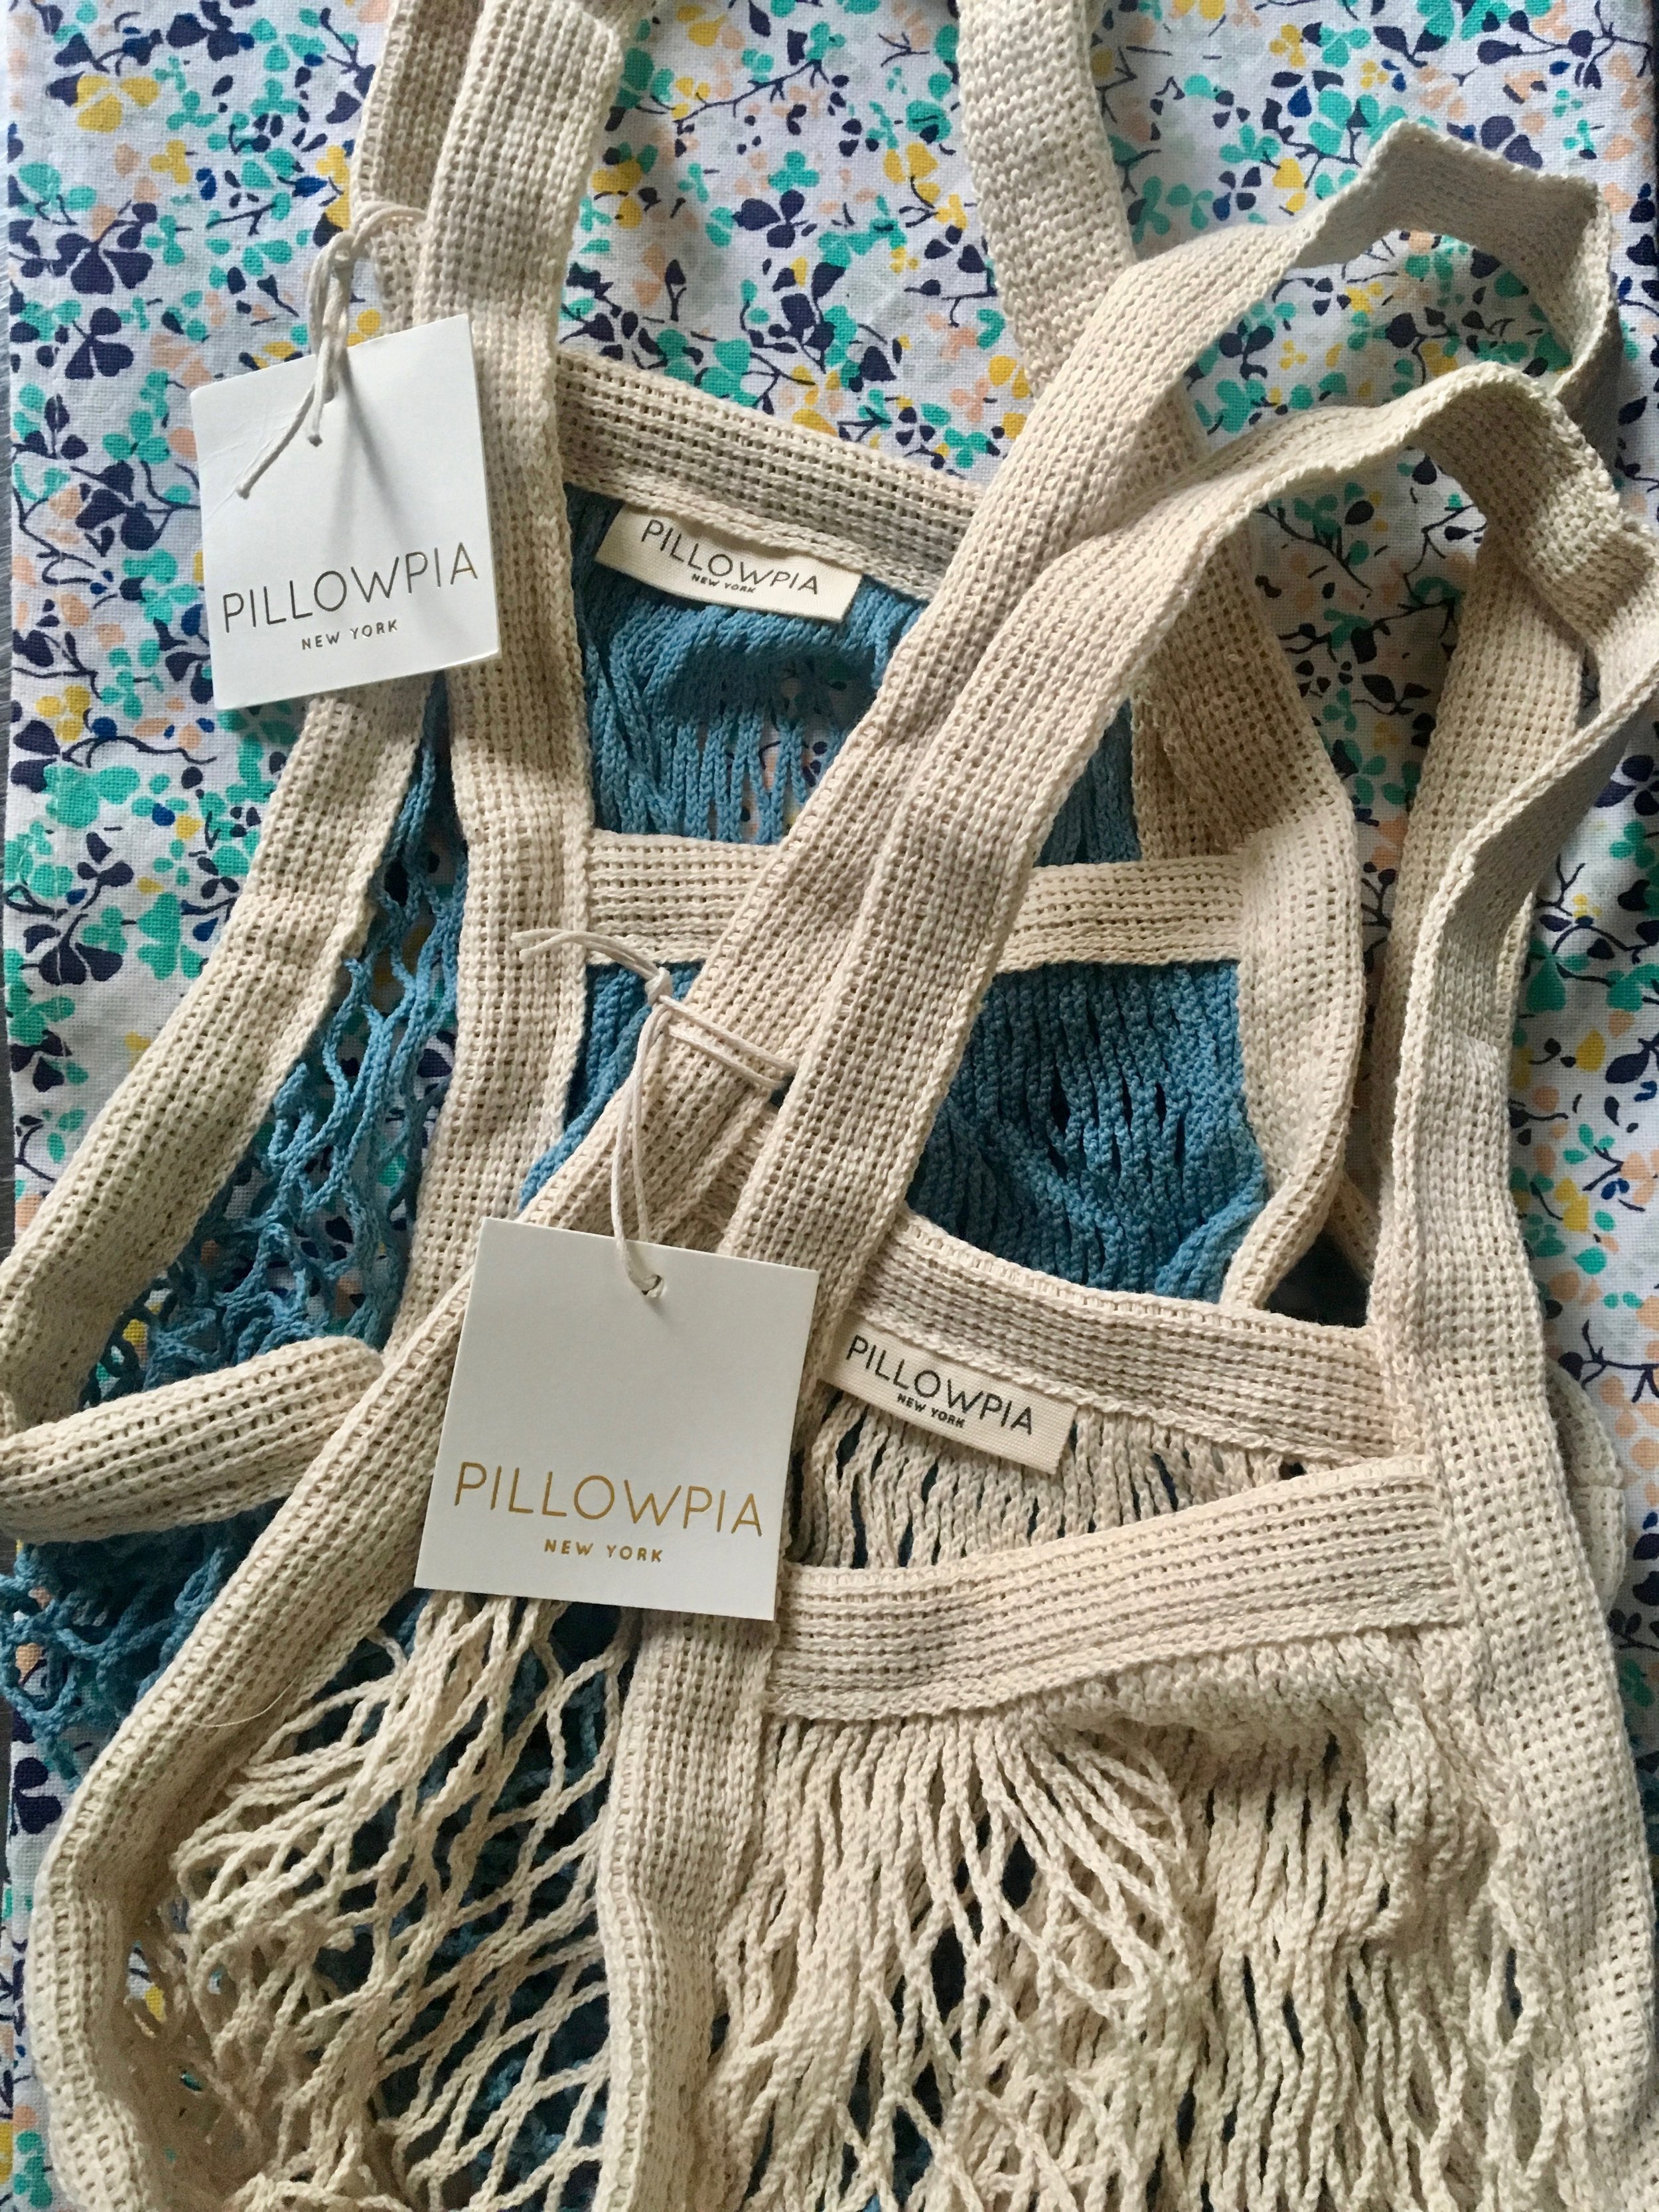
With a little planning, thought, and Pillowpia’s french market bag to make grocery shopping fashionable and functional, you’ll be sailing through your week of food and choices in no time.
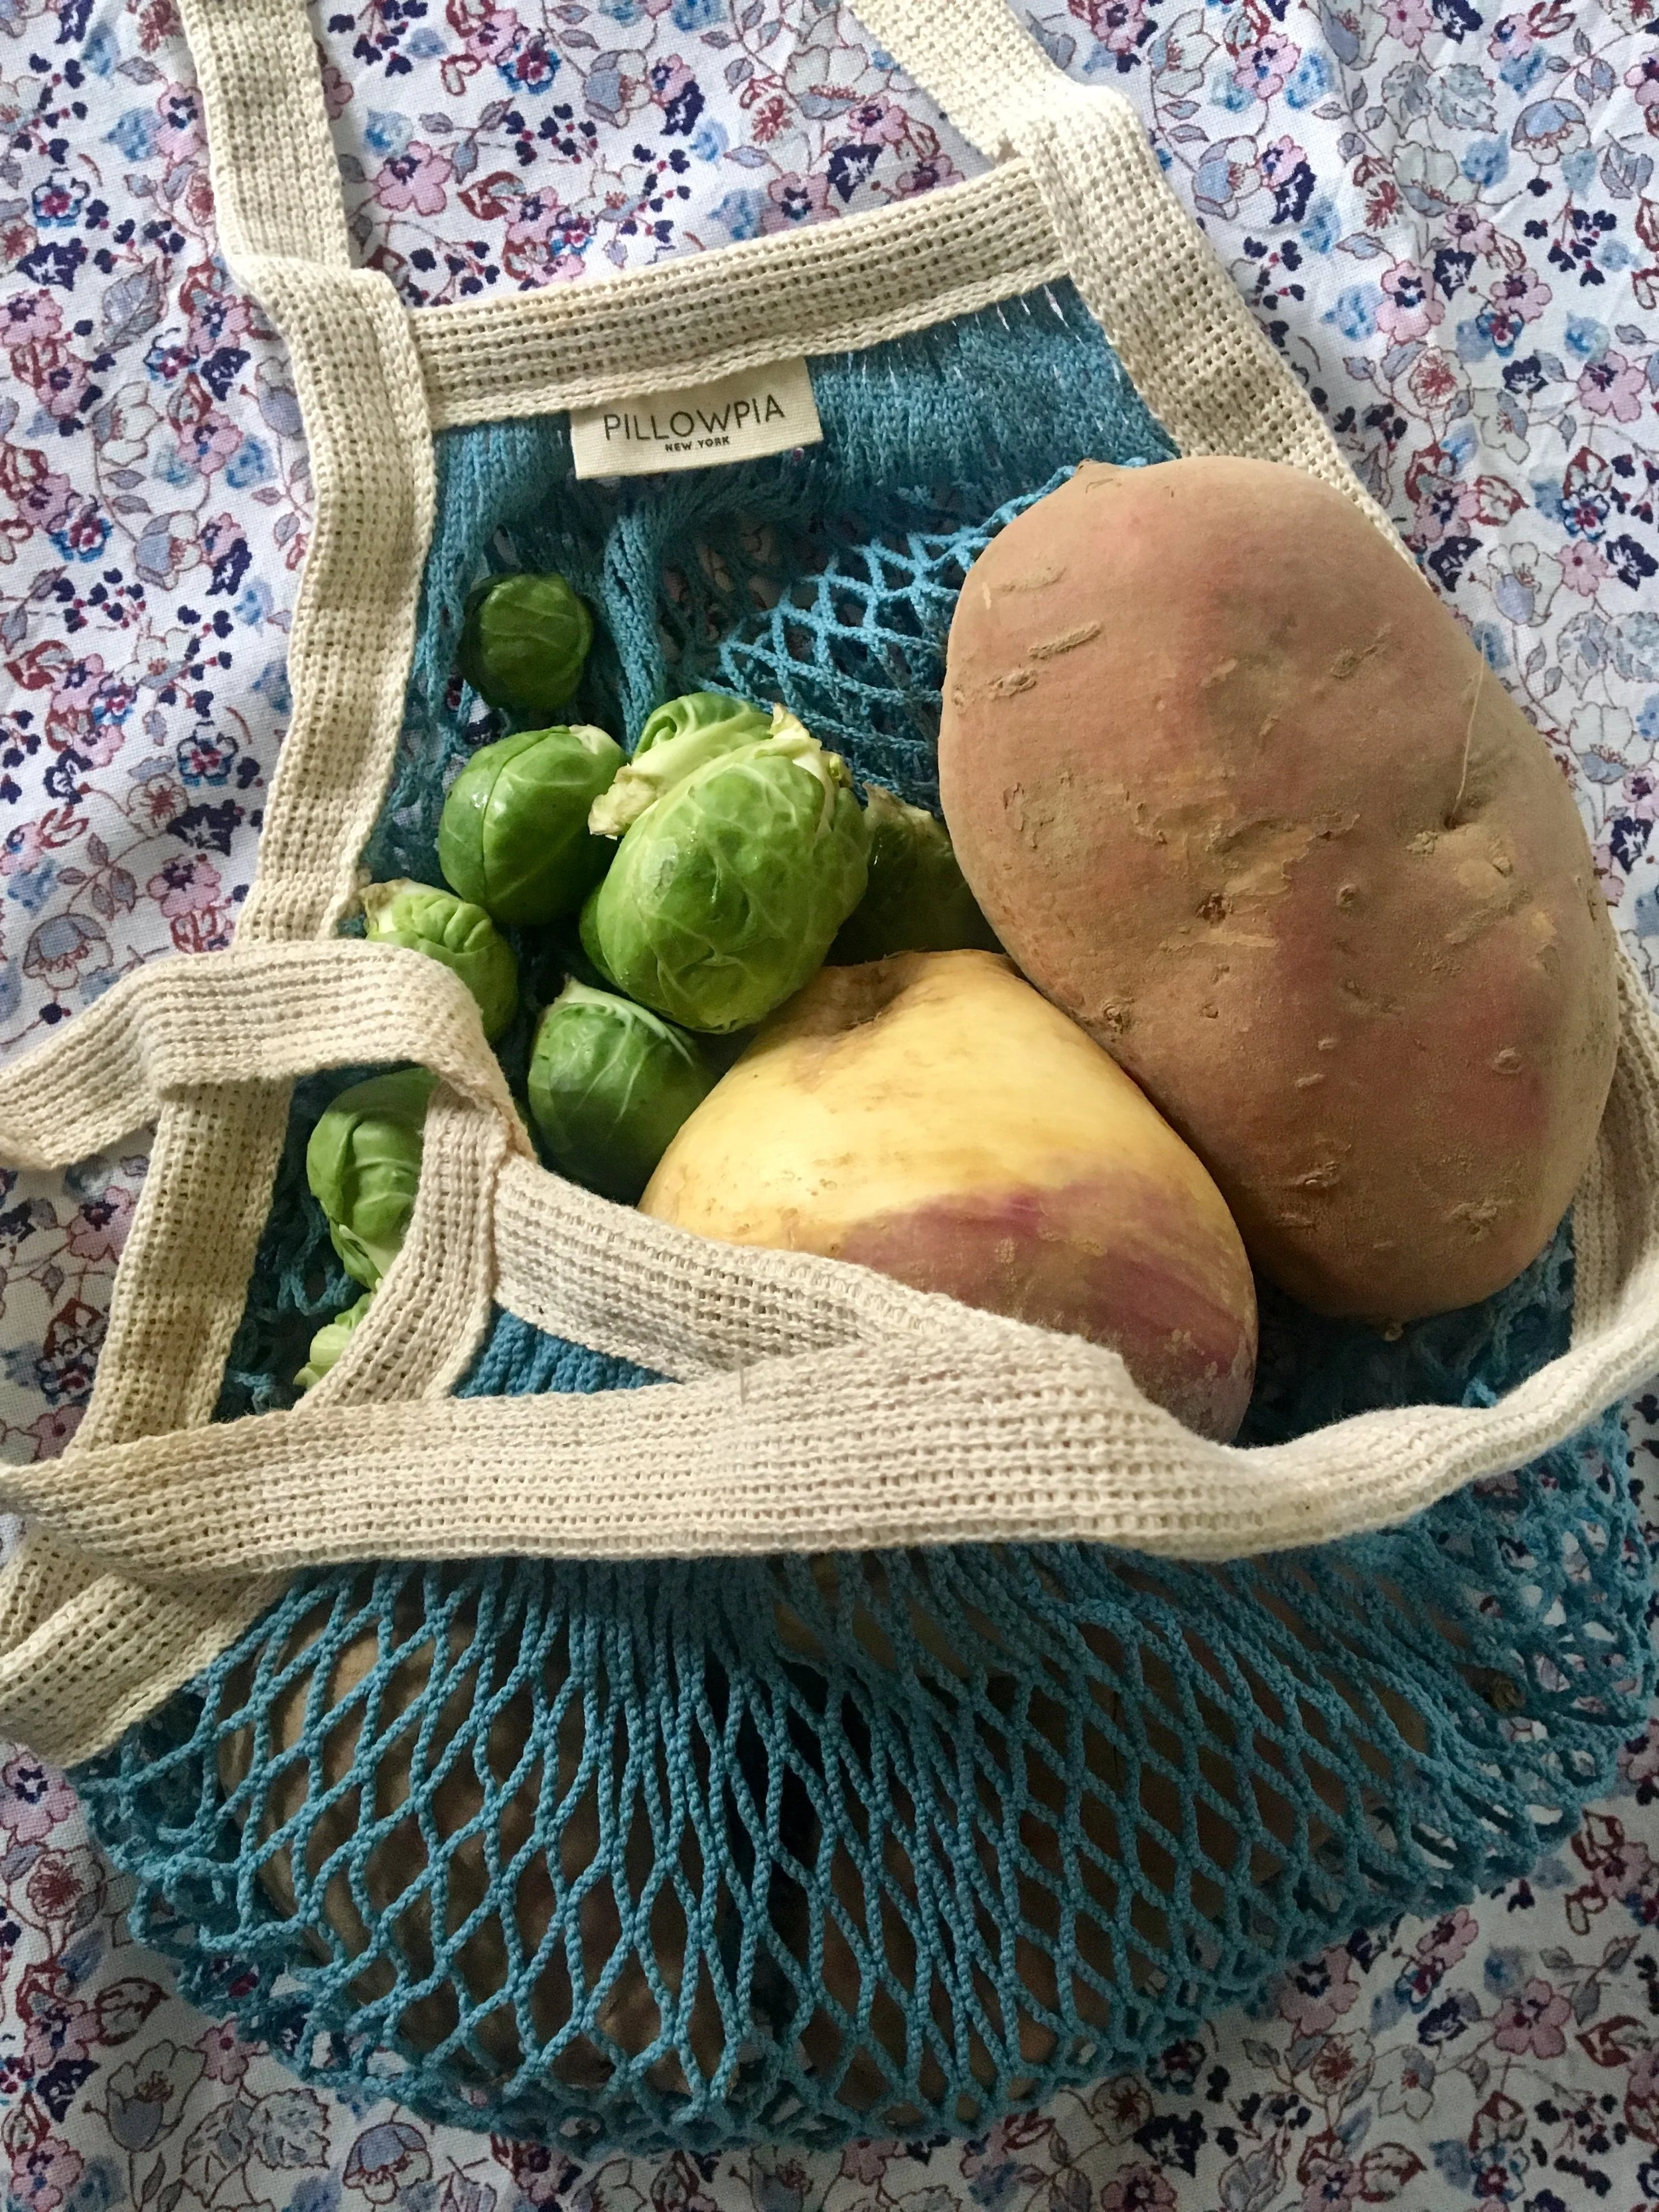
A few days before Thanksgiving I removed my french market bag from its drawstring dust bag and gave it a workout. This little net bag expanded to the occasion, neatly holding and accommodating the weight of every vegetable I carefully selected. When shopping, I went straight for my seasonal favorites - securing sweet potatoes, rutabagas and carrots. Alongside these roots, I added brussel sprouts, cauliflower and canned corn. Sometimes you need to remove the element of preparation from cooking and reach for the canned corn! The above veggies roast beautifully and will stay fresh for up to a week (or more) when stored in the refrigerator, making them the perfect base to build leftover meals.
Although I’m using leftover roasted veggies from Thanksgiving in my bountiful bowl preparations, you can easily roast a tray of your choosing in 20-25 minutes on a Saturday or Sunday morning and get the same results. You can also roast on a weeknight. Yes, on weeknight. And build bowls to your hearts content from there. Think about all the hydration and fuel you’ll be giving yourself!
Below is a 3 Step Tina To Table cooking strategy to get you thinking and making some tasty grain/salad bowls so you too may enter the throws of mealtime bliss.
Step 1: Make A List + Go Shopping (and don’t forget your Pillowpia French Market Bag!)
If you don’t have leftover roasted veggies, select a few veggies to roast, along with a green and 1 quality piece of cheese you can use a few ways.
Roots are perfect this time of year, hearty, filling and naturally sweet - satisfying sweet cravings while also giving you the gift of fiber and fullness.
Every week when I grocery shop I refresh 1 or 2 green veggies so I have items in my fridge to make a salad.
I like having a green on hand to saute into a quick weeknight omelette when all I can do is make breakfast for dinner or eat another green/grain bowl (oh, hey, living and cooking single).
I like cheese, it’s a staple in my home, not to be eaten in excess (oh, hey, at least I try but I’ve been known to hand feed myself some mozzarella shreds when I’m hangry), but used as a topping or gloss on a meal ‘cause it makes the finished product prettier and tastier.
Step 2: Scan Your Pantry For Staples And …
If you don’t have staples, think about taking an hour to get your kitchen organized for more cooking successes (don’t worry, I can help) so the whole process of preparing meals on the fly will be way easier.
At the bare minimum I always have the below on hand: 1) Extra Virgin Olive Oil 2) Vinegars 3) Salt 4) Pepper 5) A Favorite Grain (I tend to use a lot of quinoa and black rice and pasta 1x per week at least) 6) Canned Beans 7) Nuts 8) Dried Fruit
With the above I can dress a salad, make a weeknight grain/pasta dish on the fly, assemble an appetizer night with my dried fruit, nuts, cheese - etc.
Step 3: Get Cooking + Assembling
Make a little time to cook: Don’t roll your eyes, you just have to start with the minimum!
Roast your veggies: See notes below!
Prep your grain: Follow the instructions on the back of your package!
Make a dressing: See notes below!
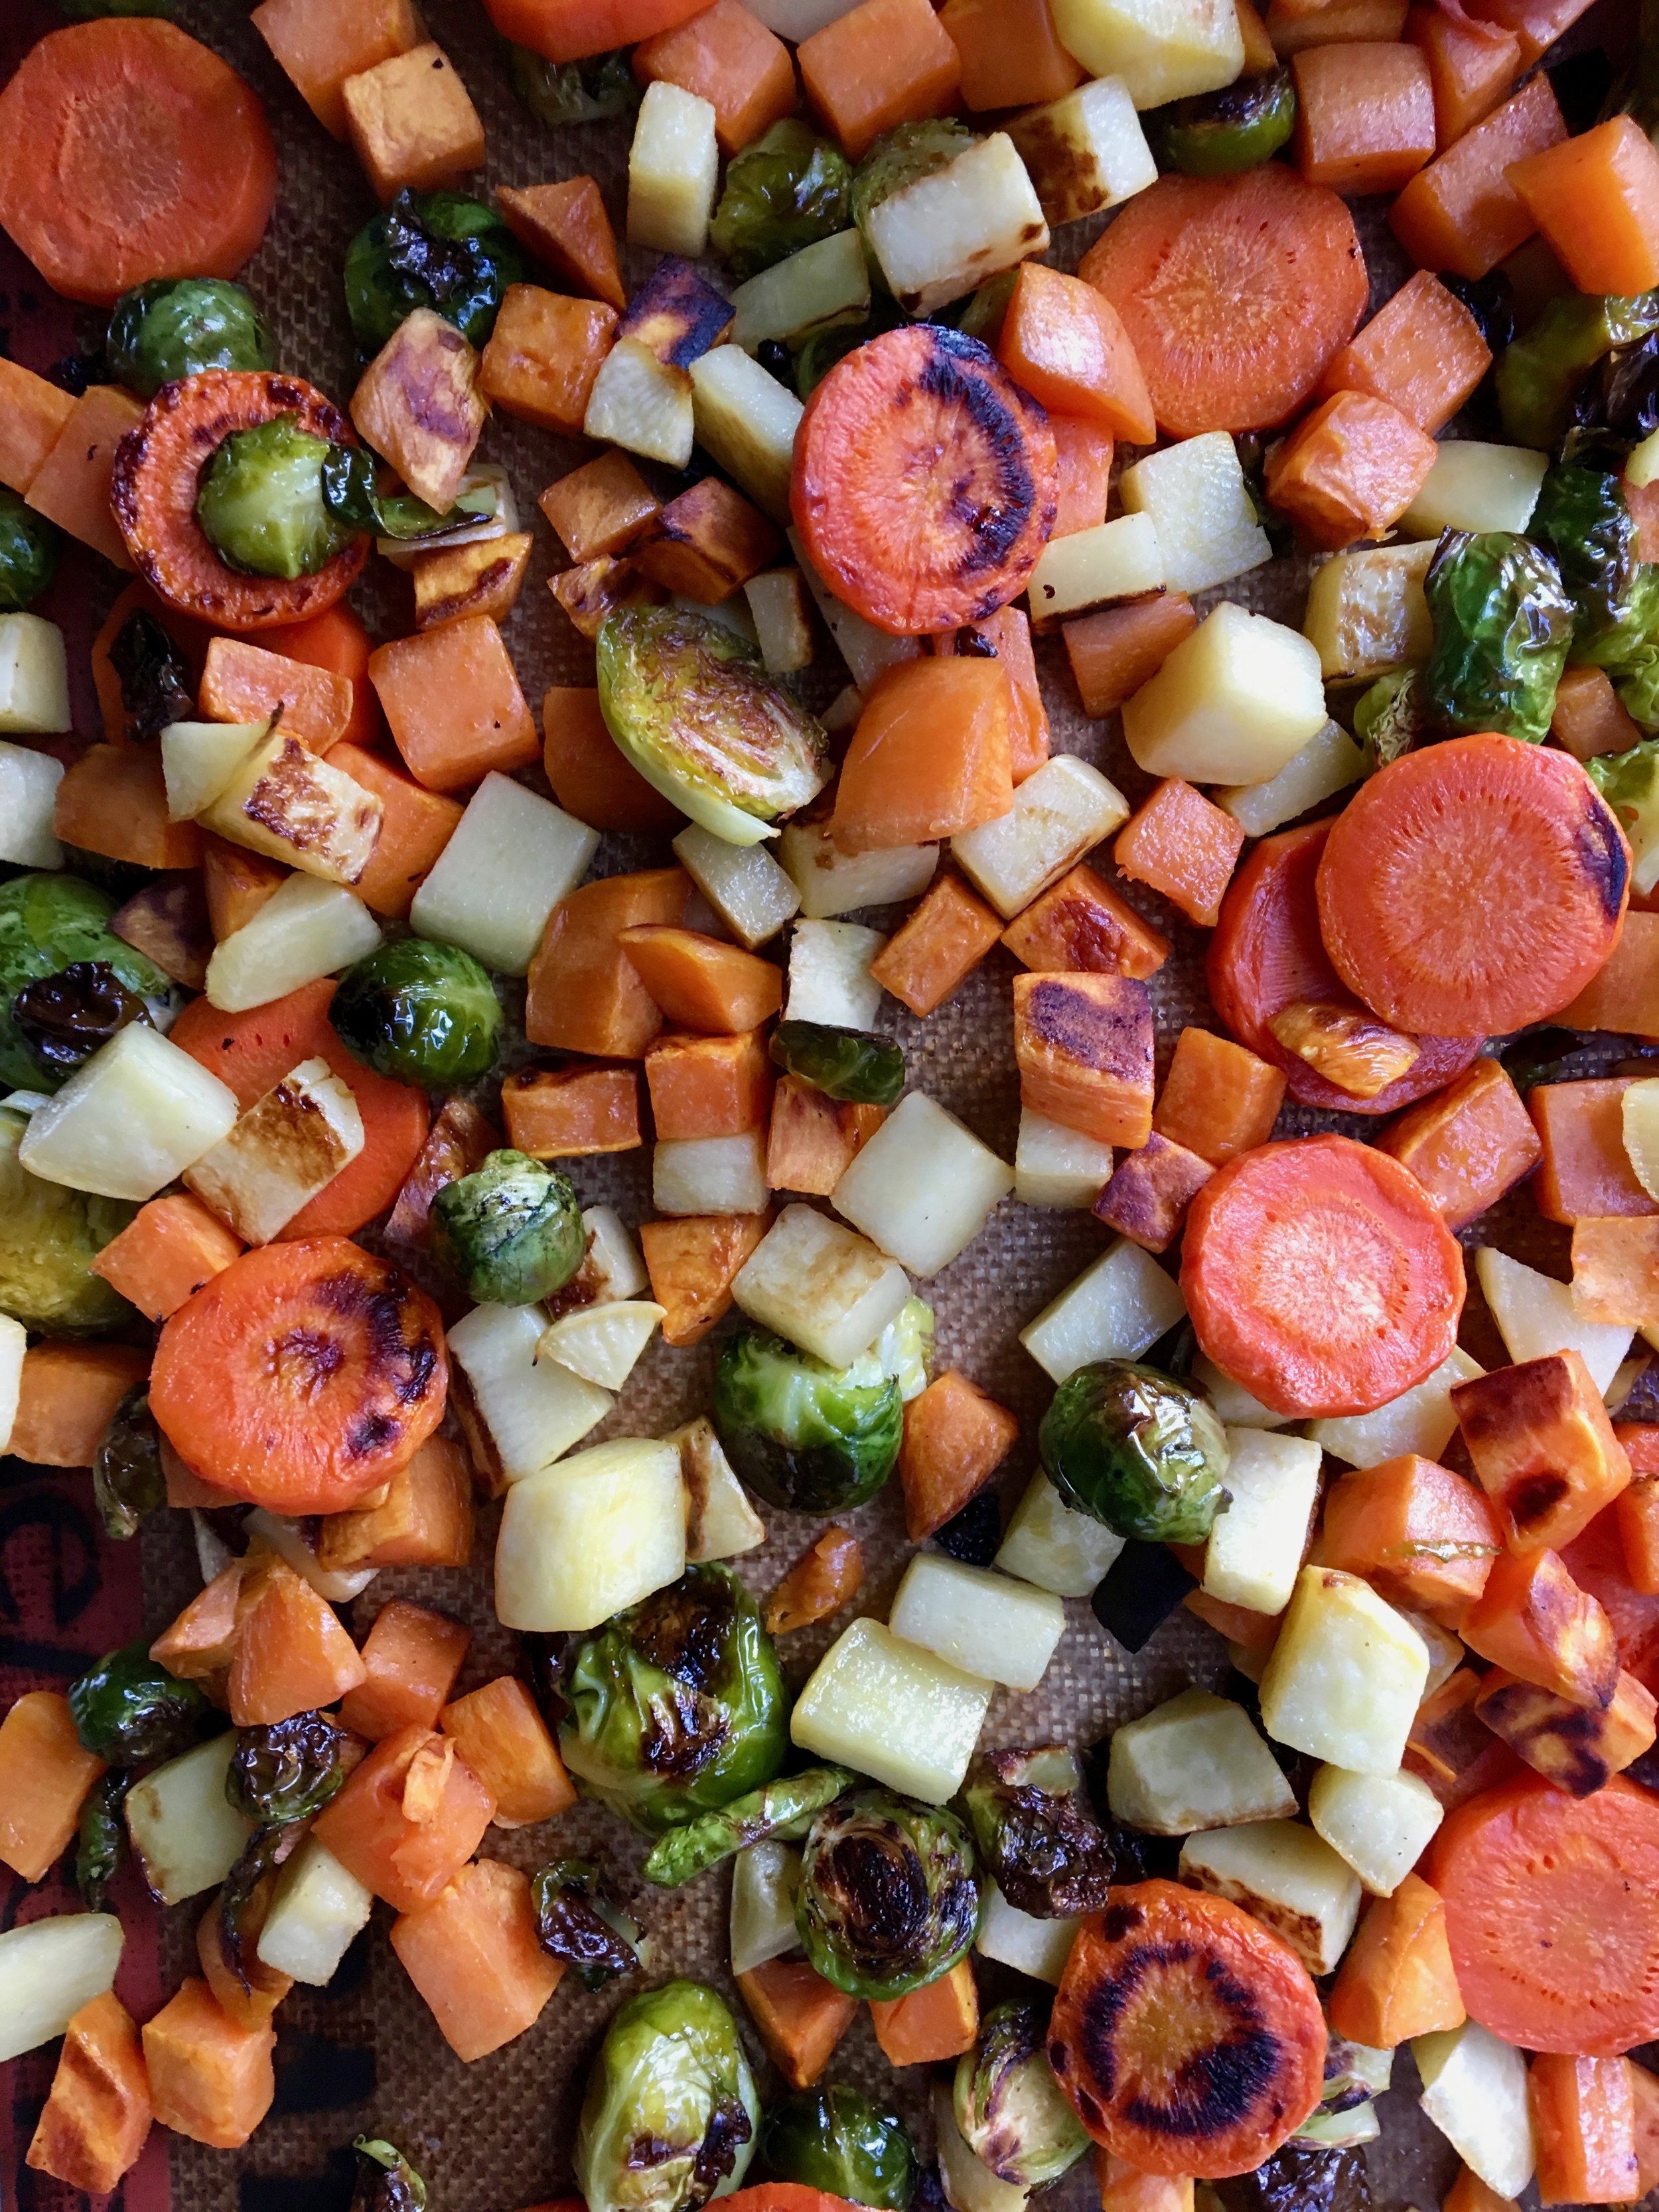
On Roasting
Roast: 425 degree oven, 20-25 minutes, always check at the 10 minute mark and give a good turn to your veggies. Roasting time may vary from oven to oven.
Oil: Use 1 1/2 - 2 tablespoons of oil (I use Extra Virgin Olive Oil) per large tray of roasted vegetables, use your judgement! The veggies should be lightly coated, not swimming in oil!
Roots: Can be roasted together (cubed sweet potatoes, carrot rounds) along with brussel sprouts (cut them in half) on one tray - or split the veggies between two trays if you have a lot of veggie love.
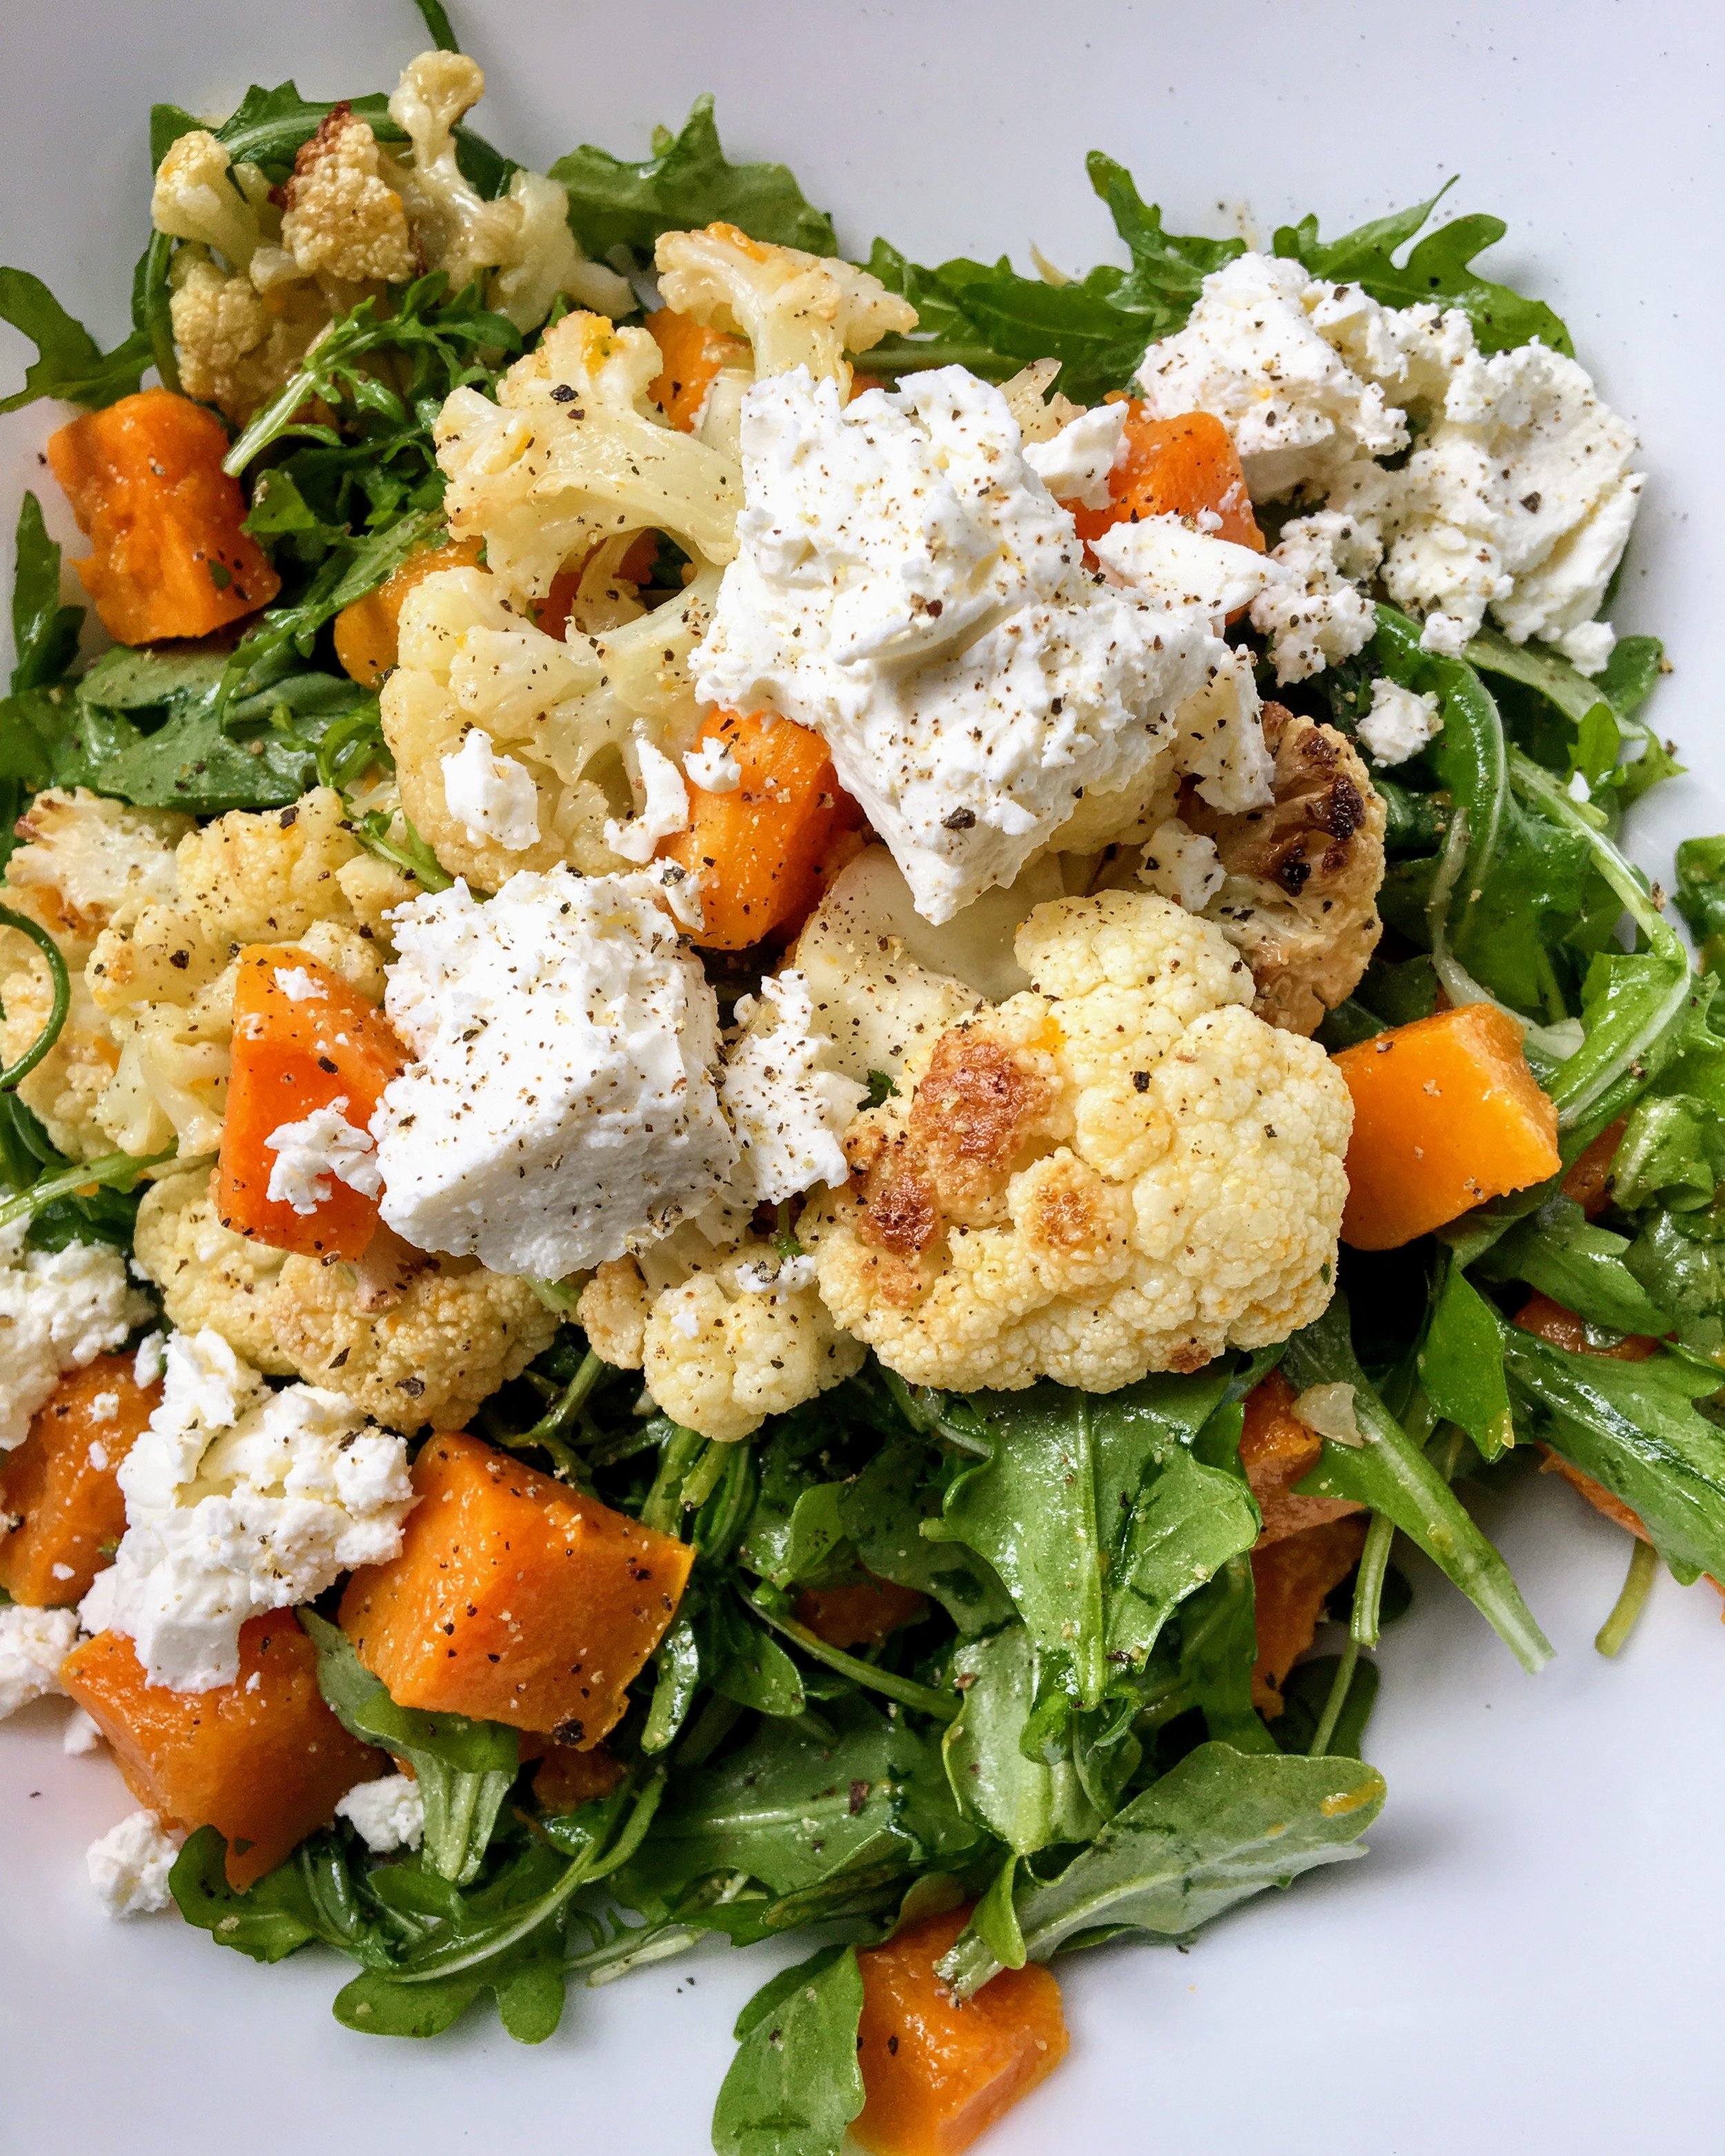
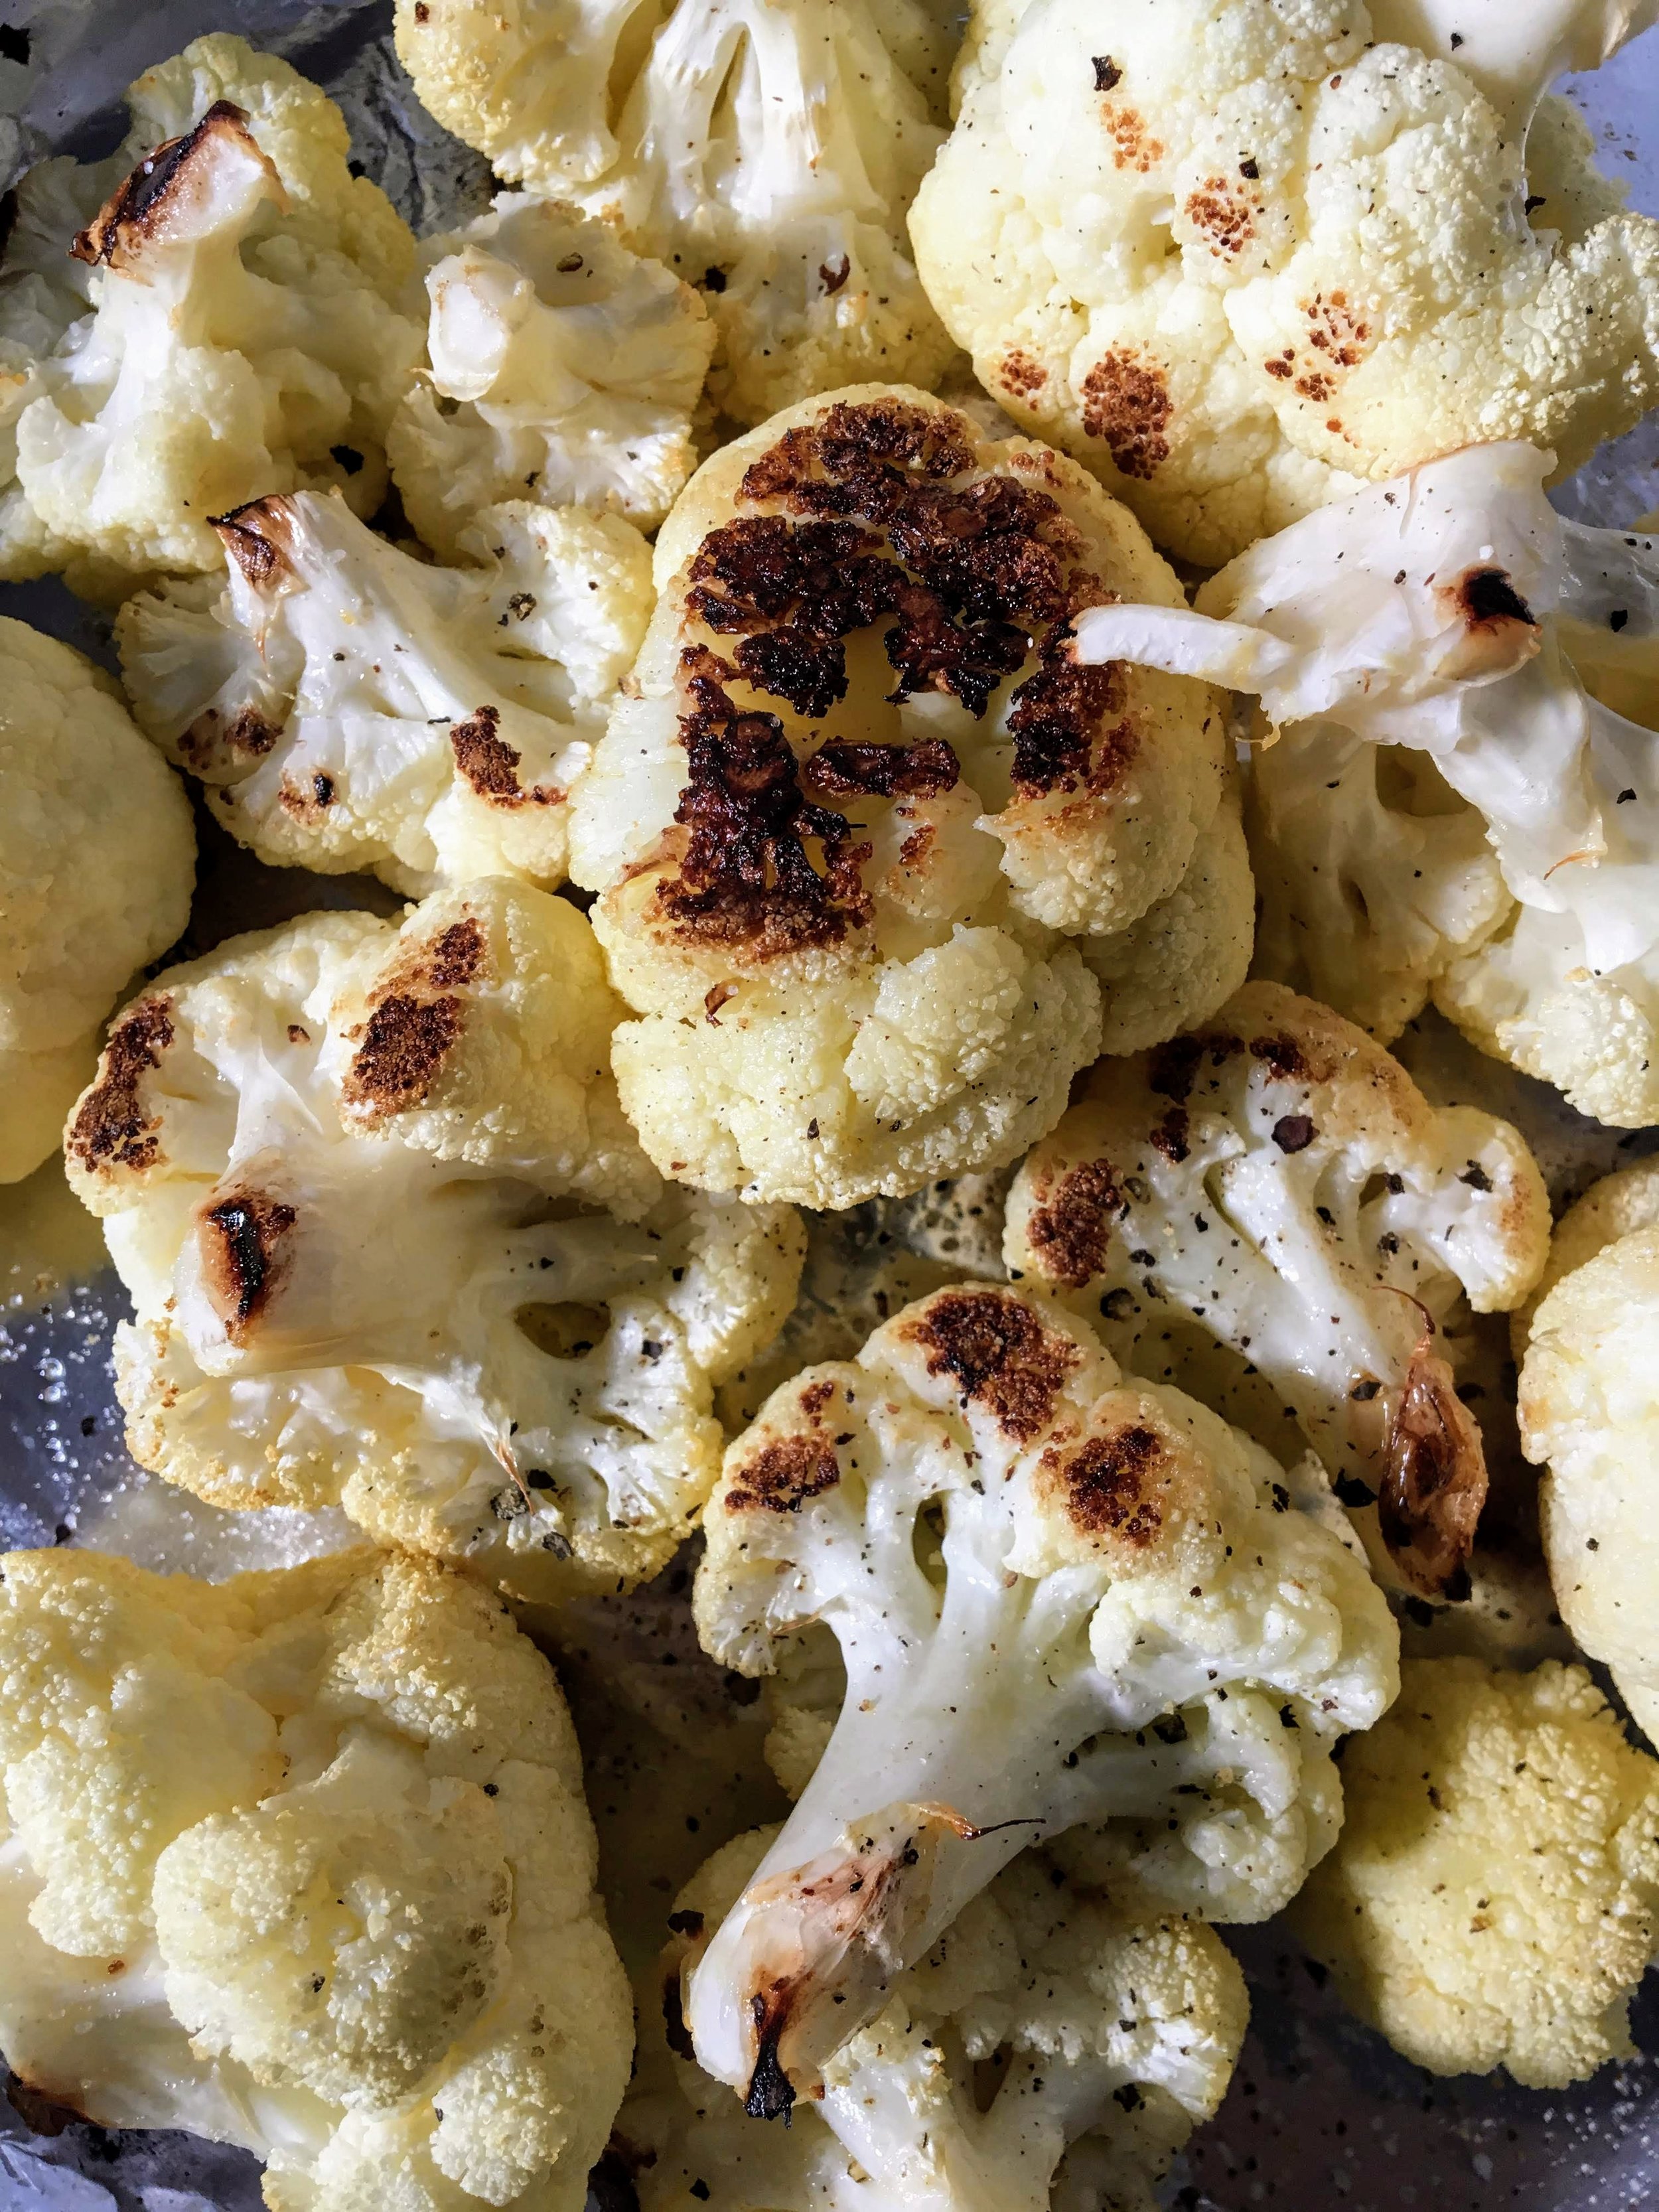
Brassica: Cauliflower can be roasted on a separate tray so it’s got room to brown
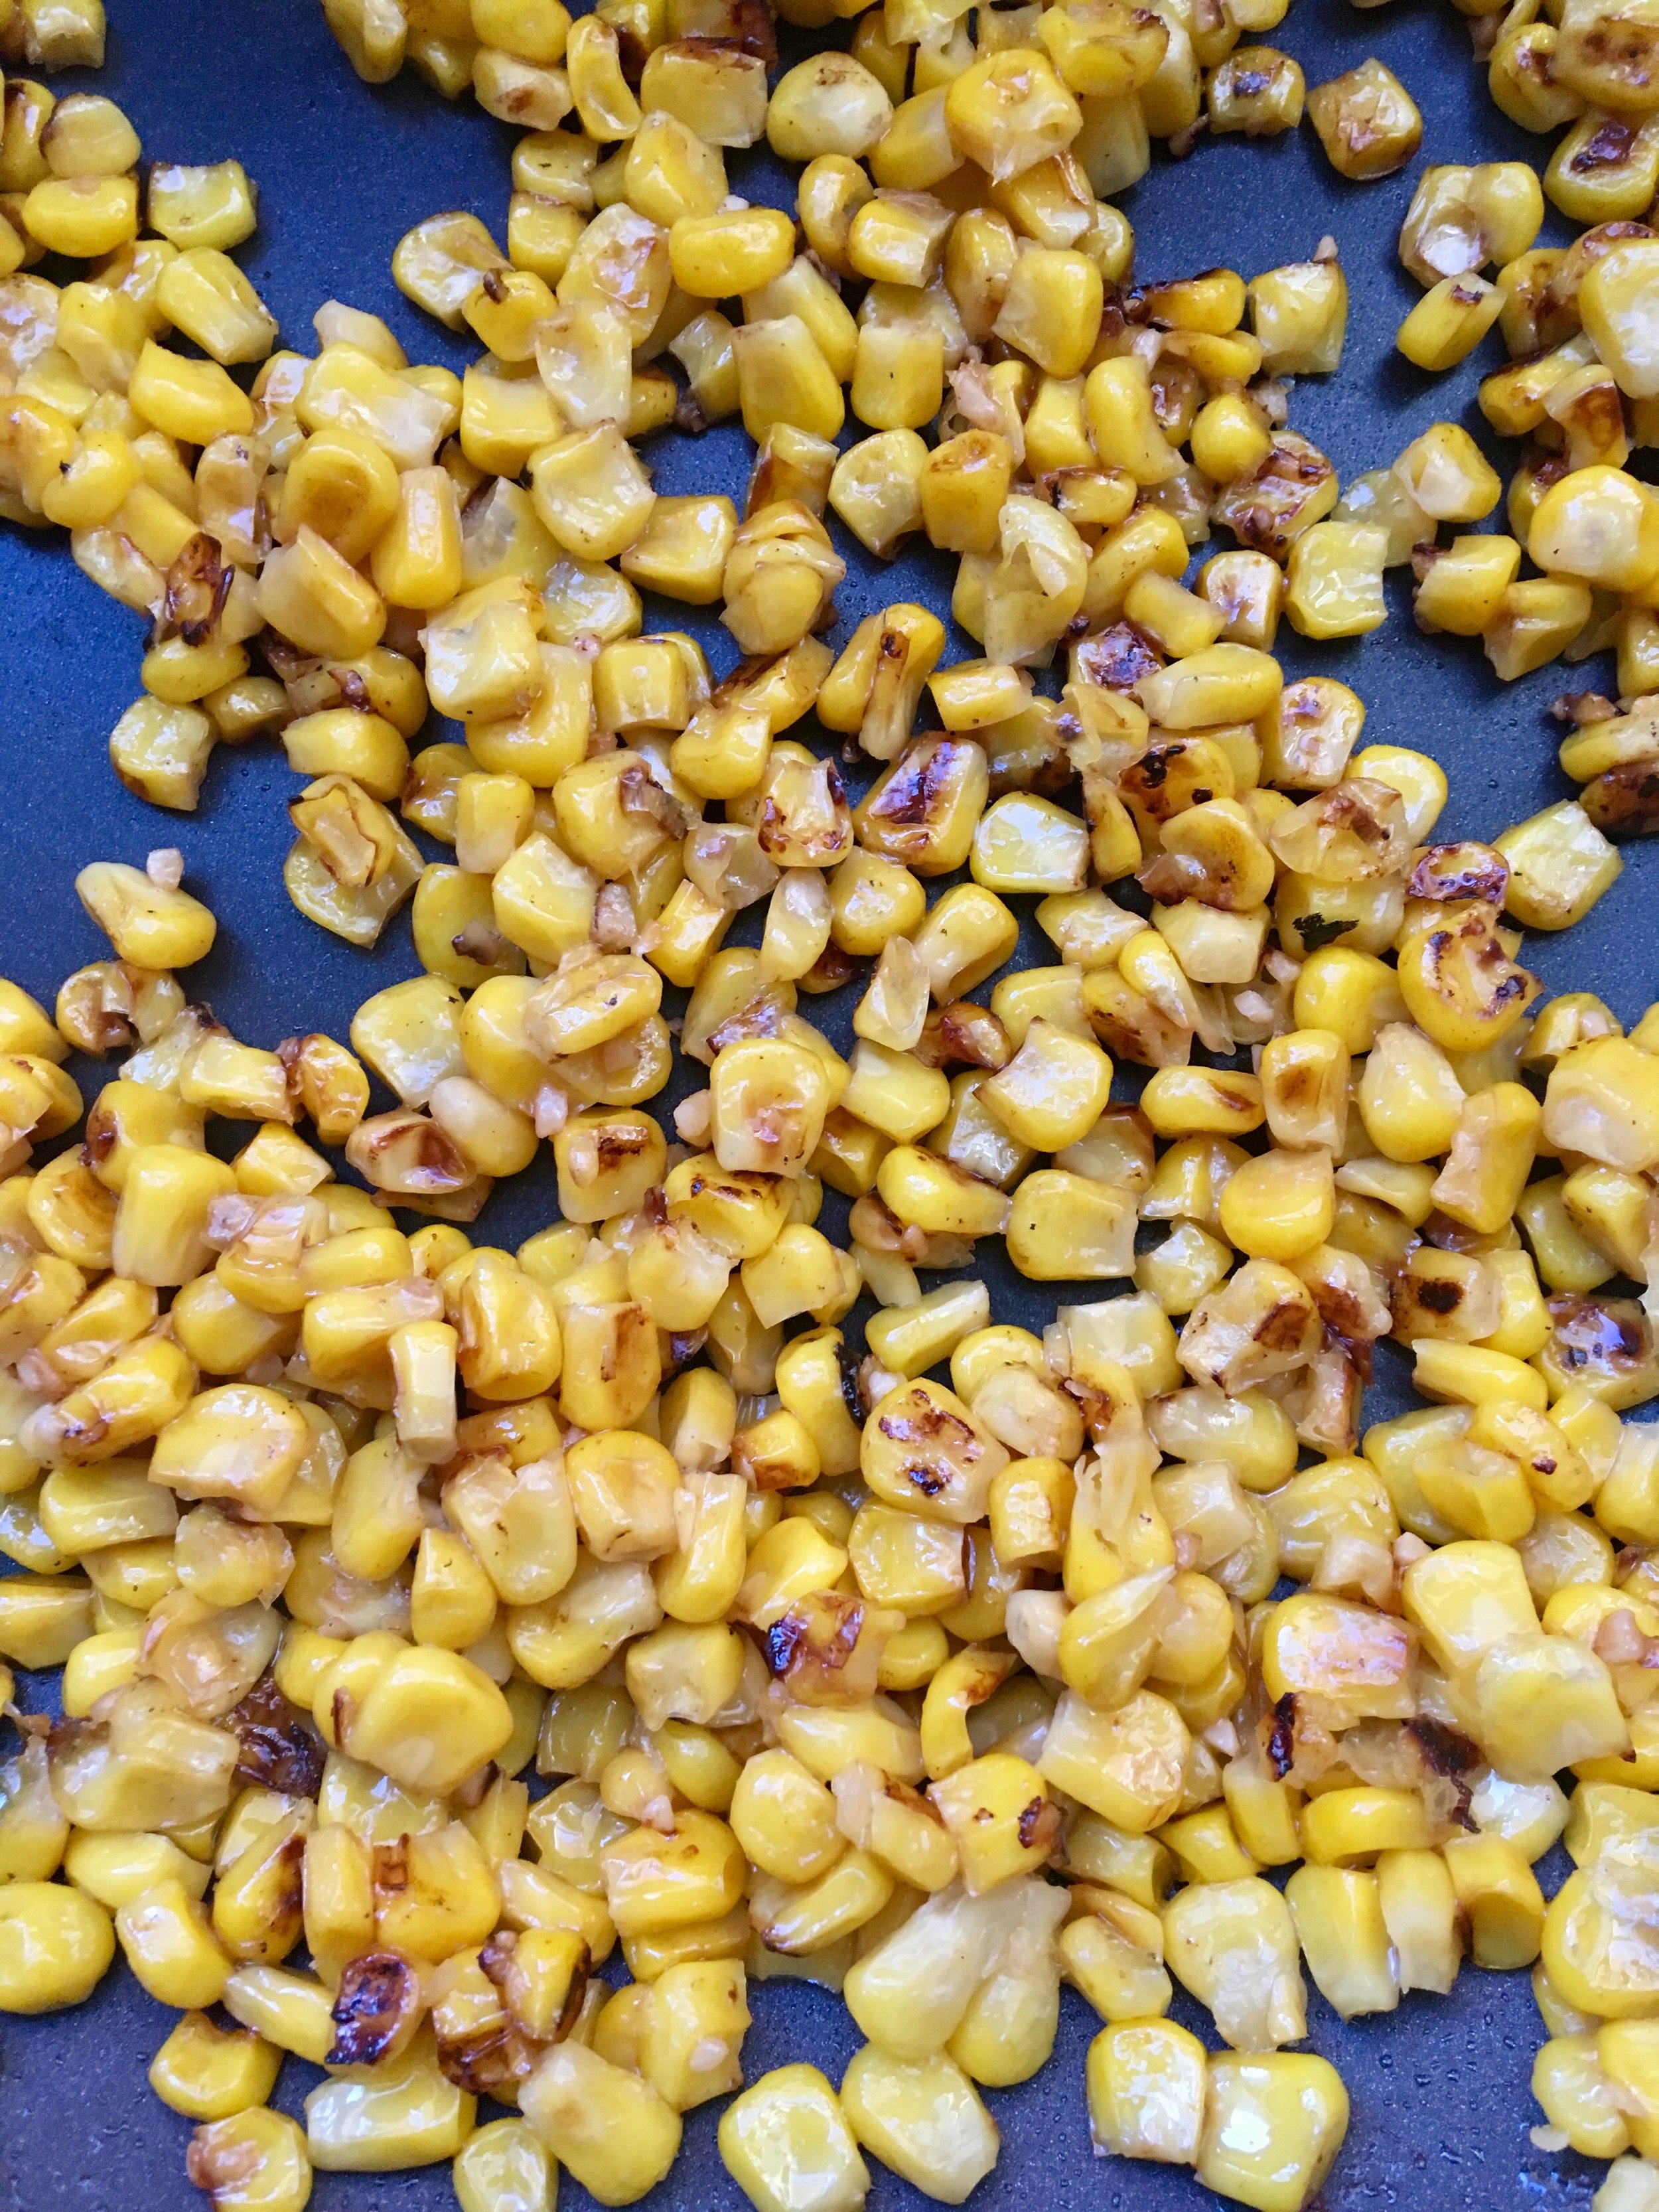
Corn: If canned, corn can be dried and tossed in a roasting tray with 1 teaspoon of olive oil OR it can be browned in a skillet on the stove top. You can also use fresh corn and do the same thing. Your other option: YOU CAN CRACK A CAN OPEN AND TOSS INTO SALADS - NO ROASTING REQUIRED!
Rule #1: Never crowd your tray! If you want your veggies to get down with being brown, you’ll have to give them ample room to tan!
Rule #2: Do not add salt until after cooking, so veggies do not release water and then have the ability to lightly brown (see additional tanning notes in Rule #1)
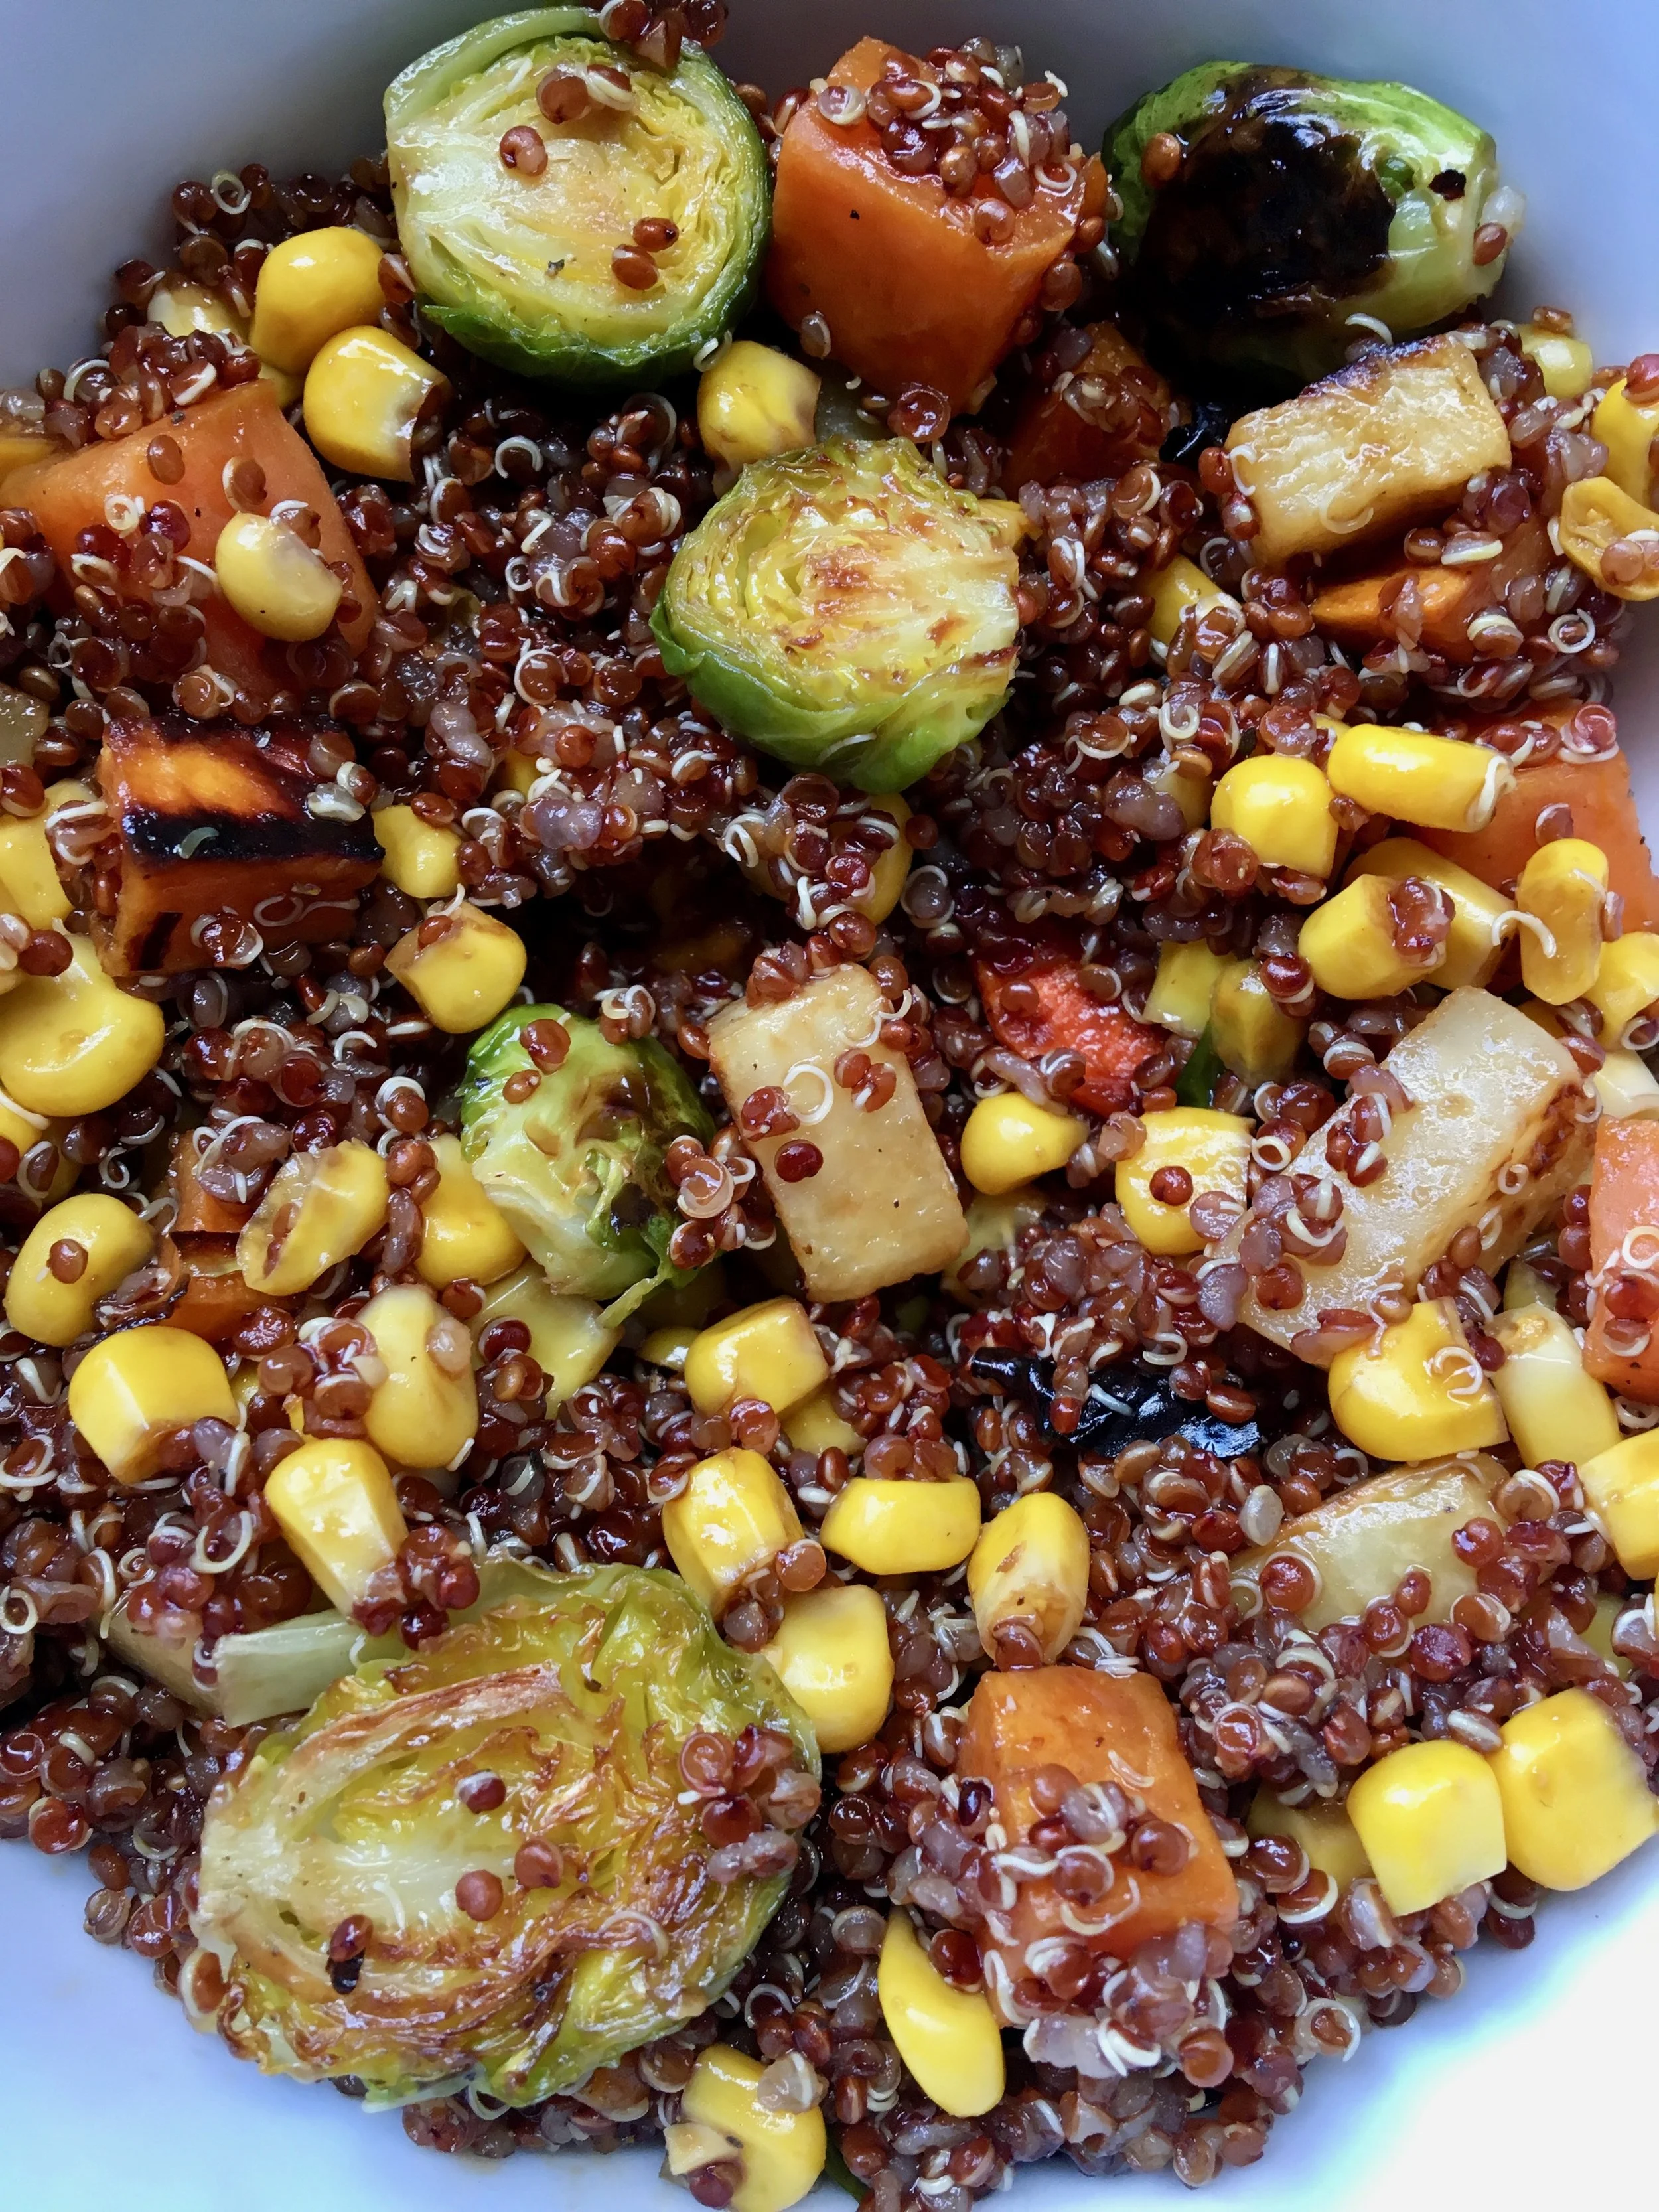
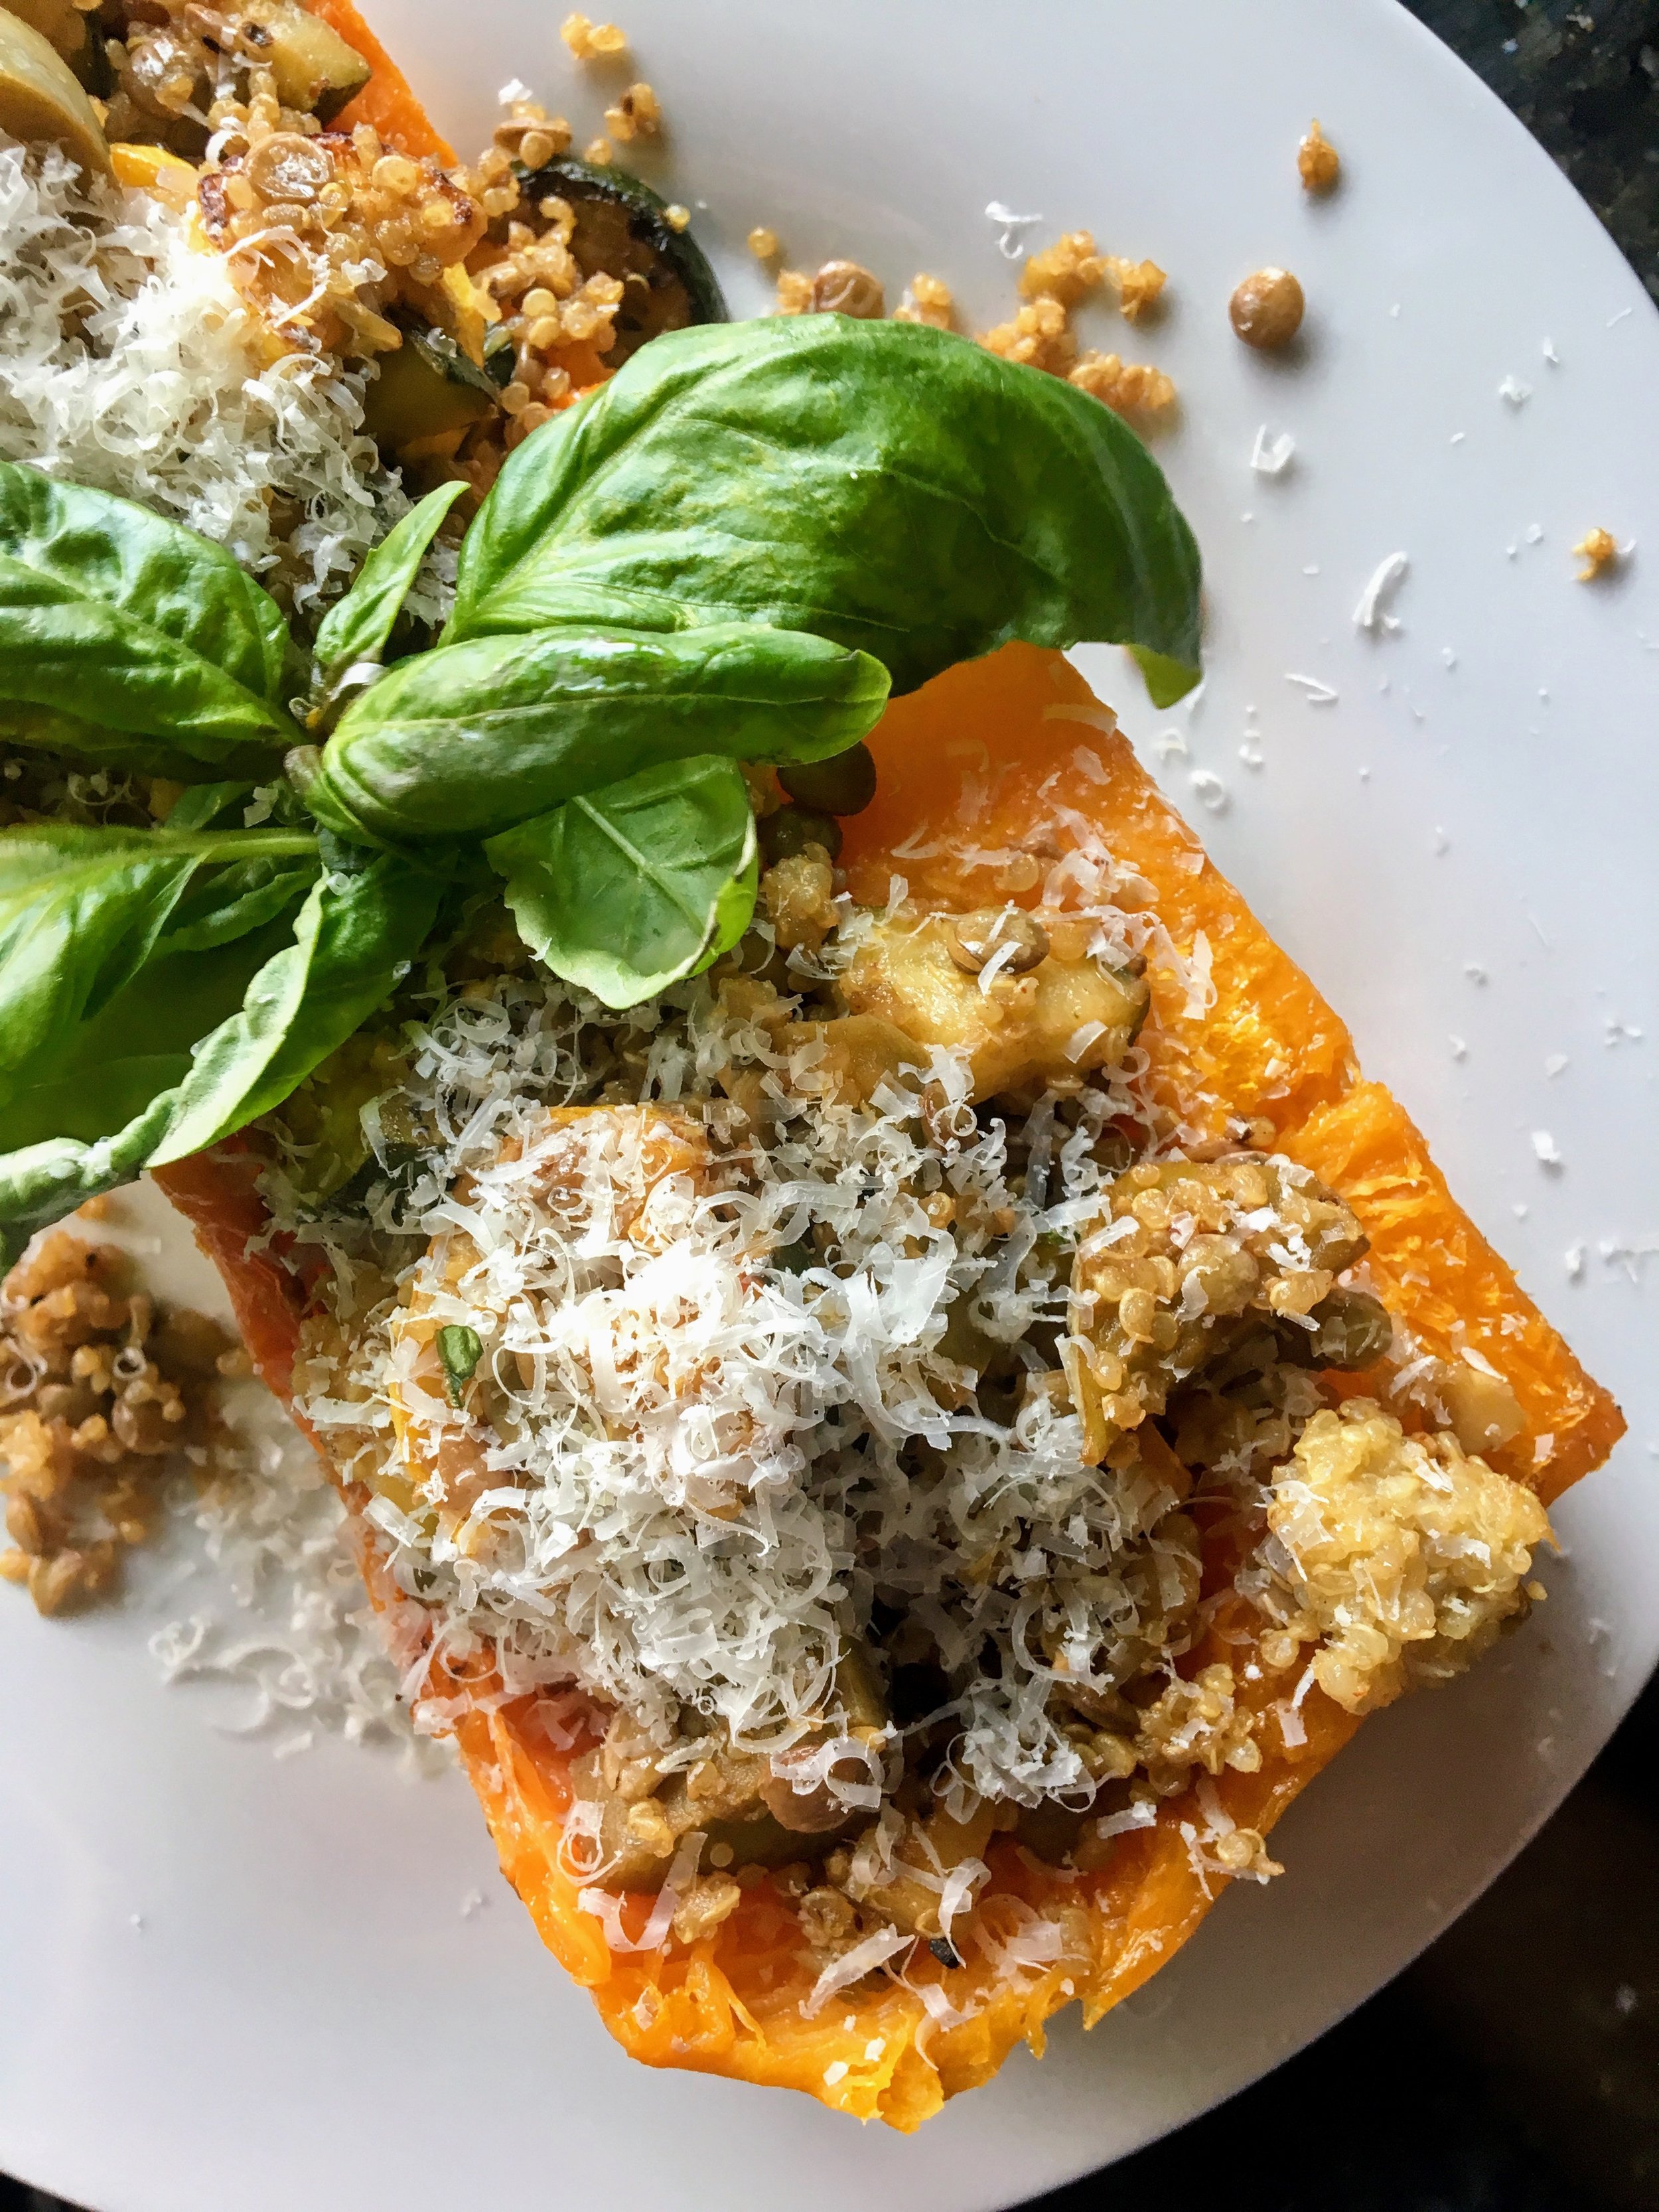
Now you have the power to give one or two trays of leftover veggies many different looks. Instead of eating this melange of roasted veggies as a side with more turkey, I breathed some new life into them by creatively combining and layering ingredients. Scroll down to check out what I added to give these plates a pop!

Roasted Veggies Can Be Given Many Different Looks
Get creative: Inside of every person there is a creative child, find him/her, put on some music and experiment with food in your kitchen. Start by having fun.
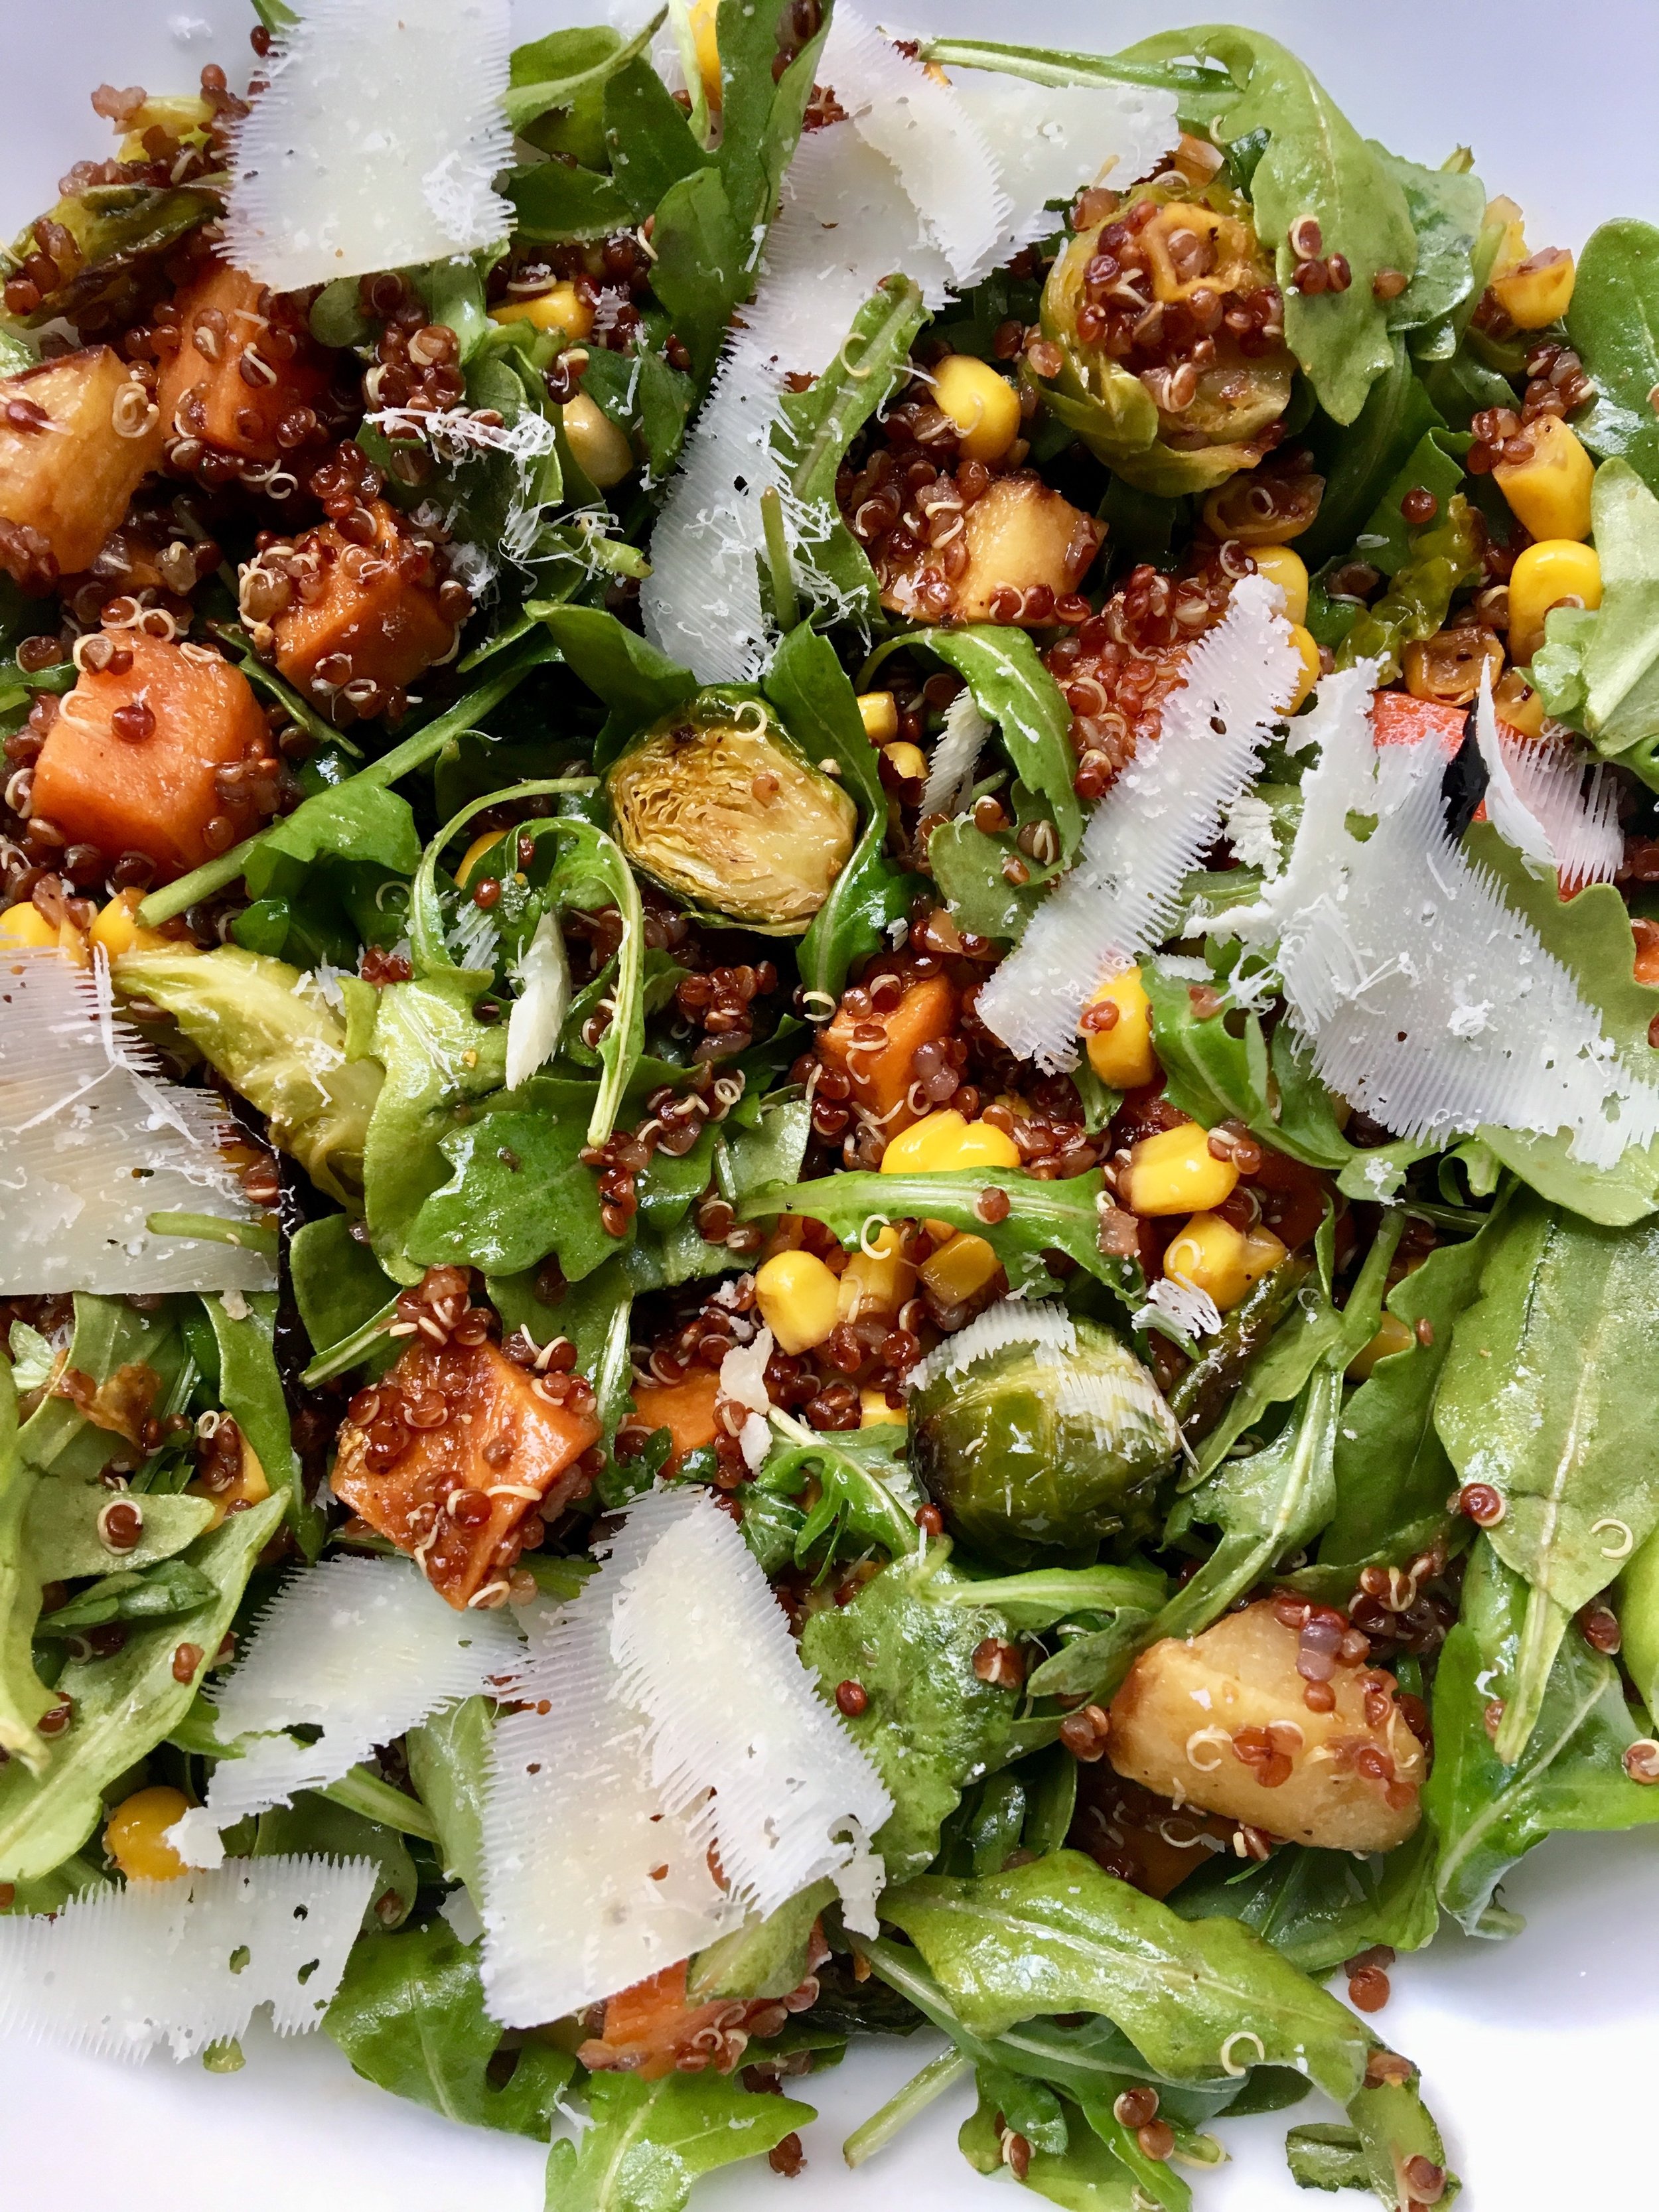
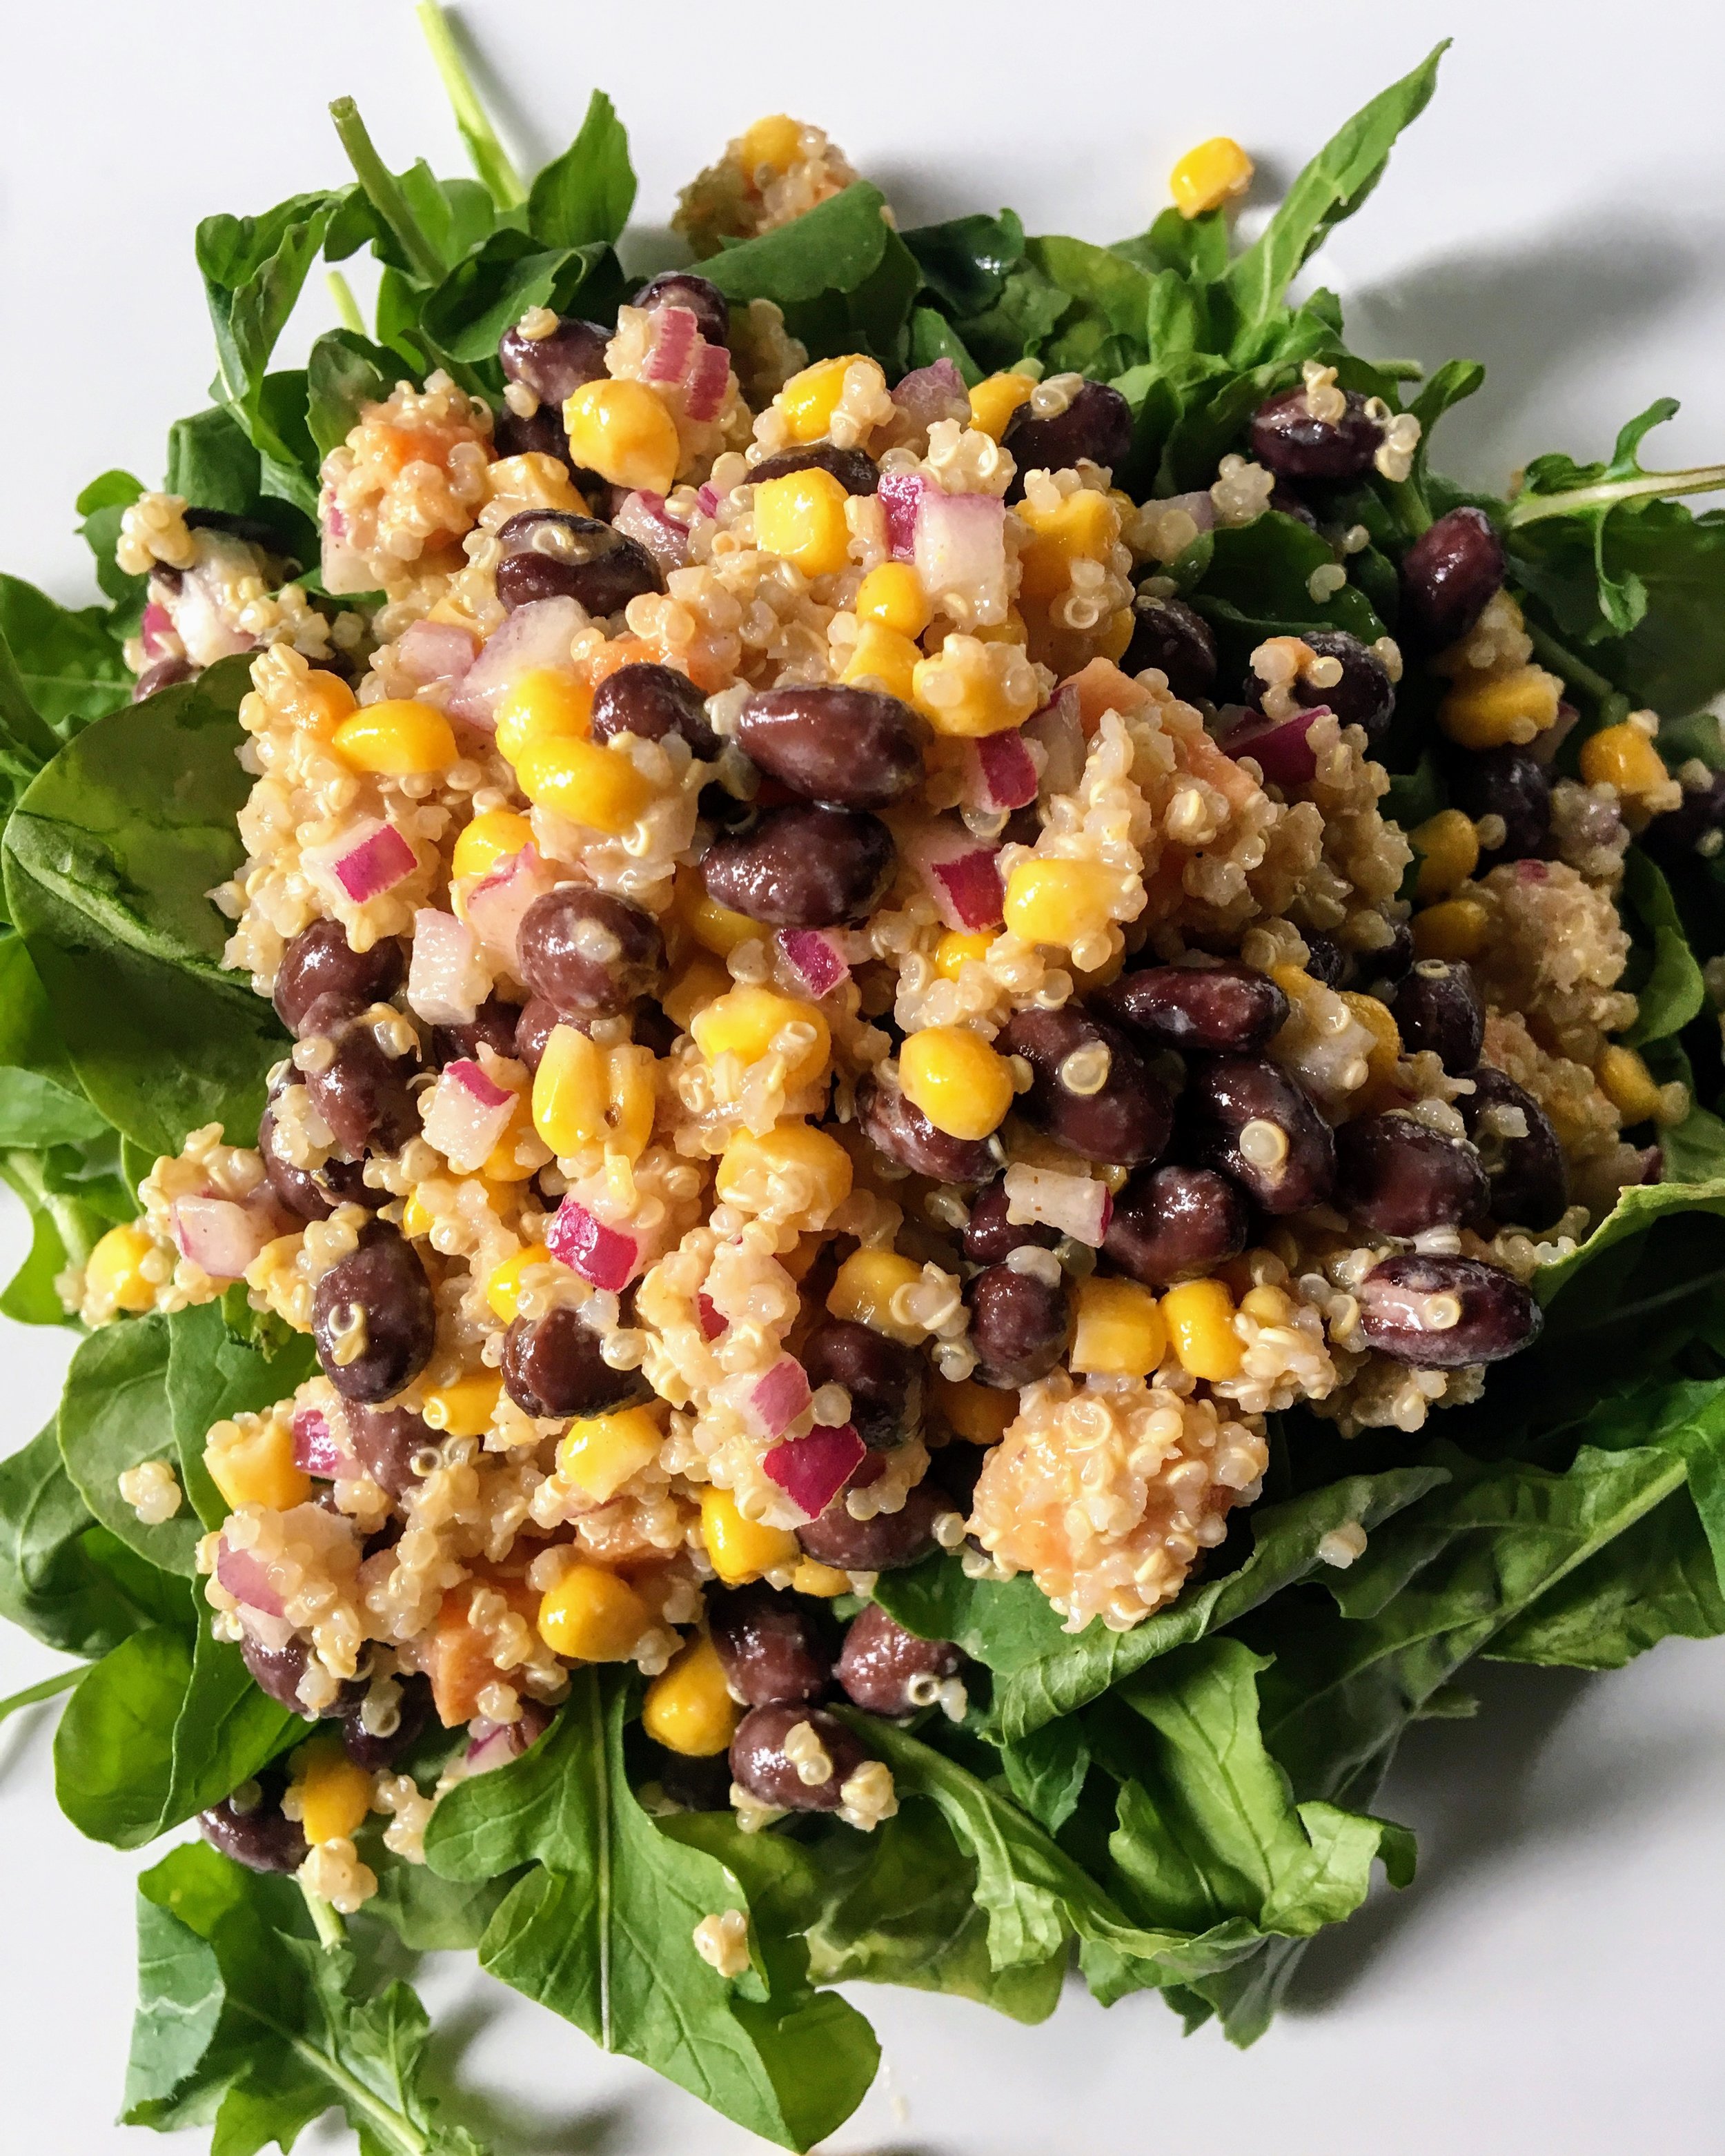
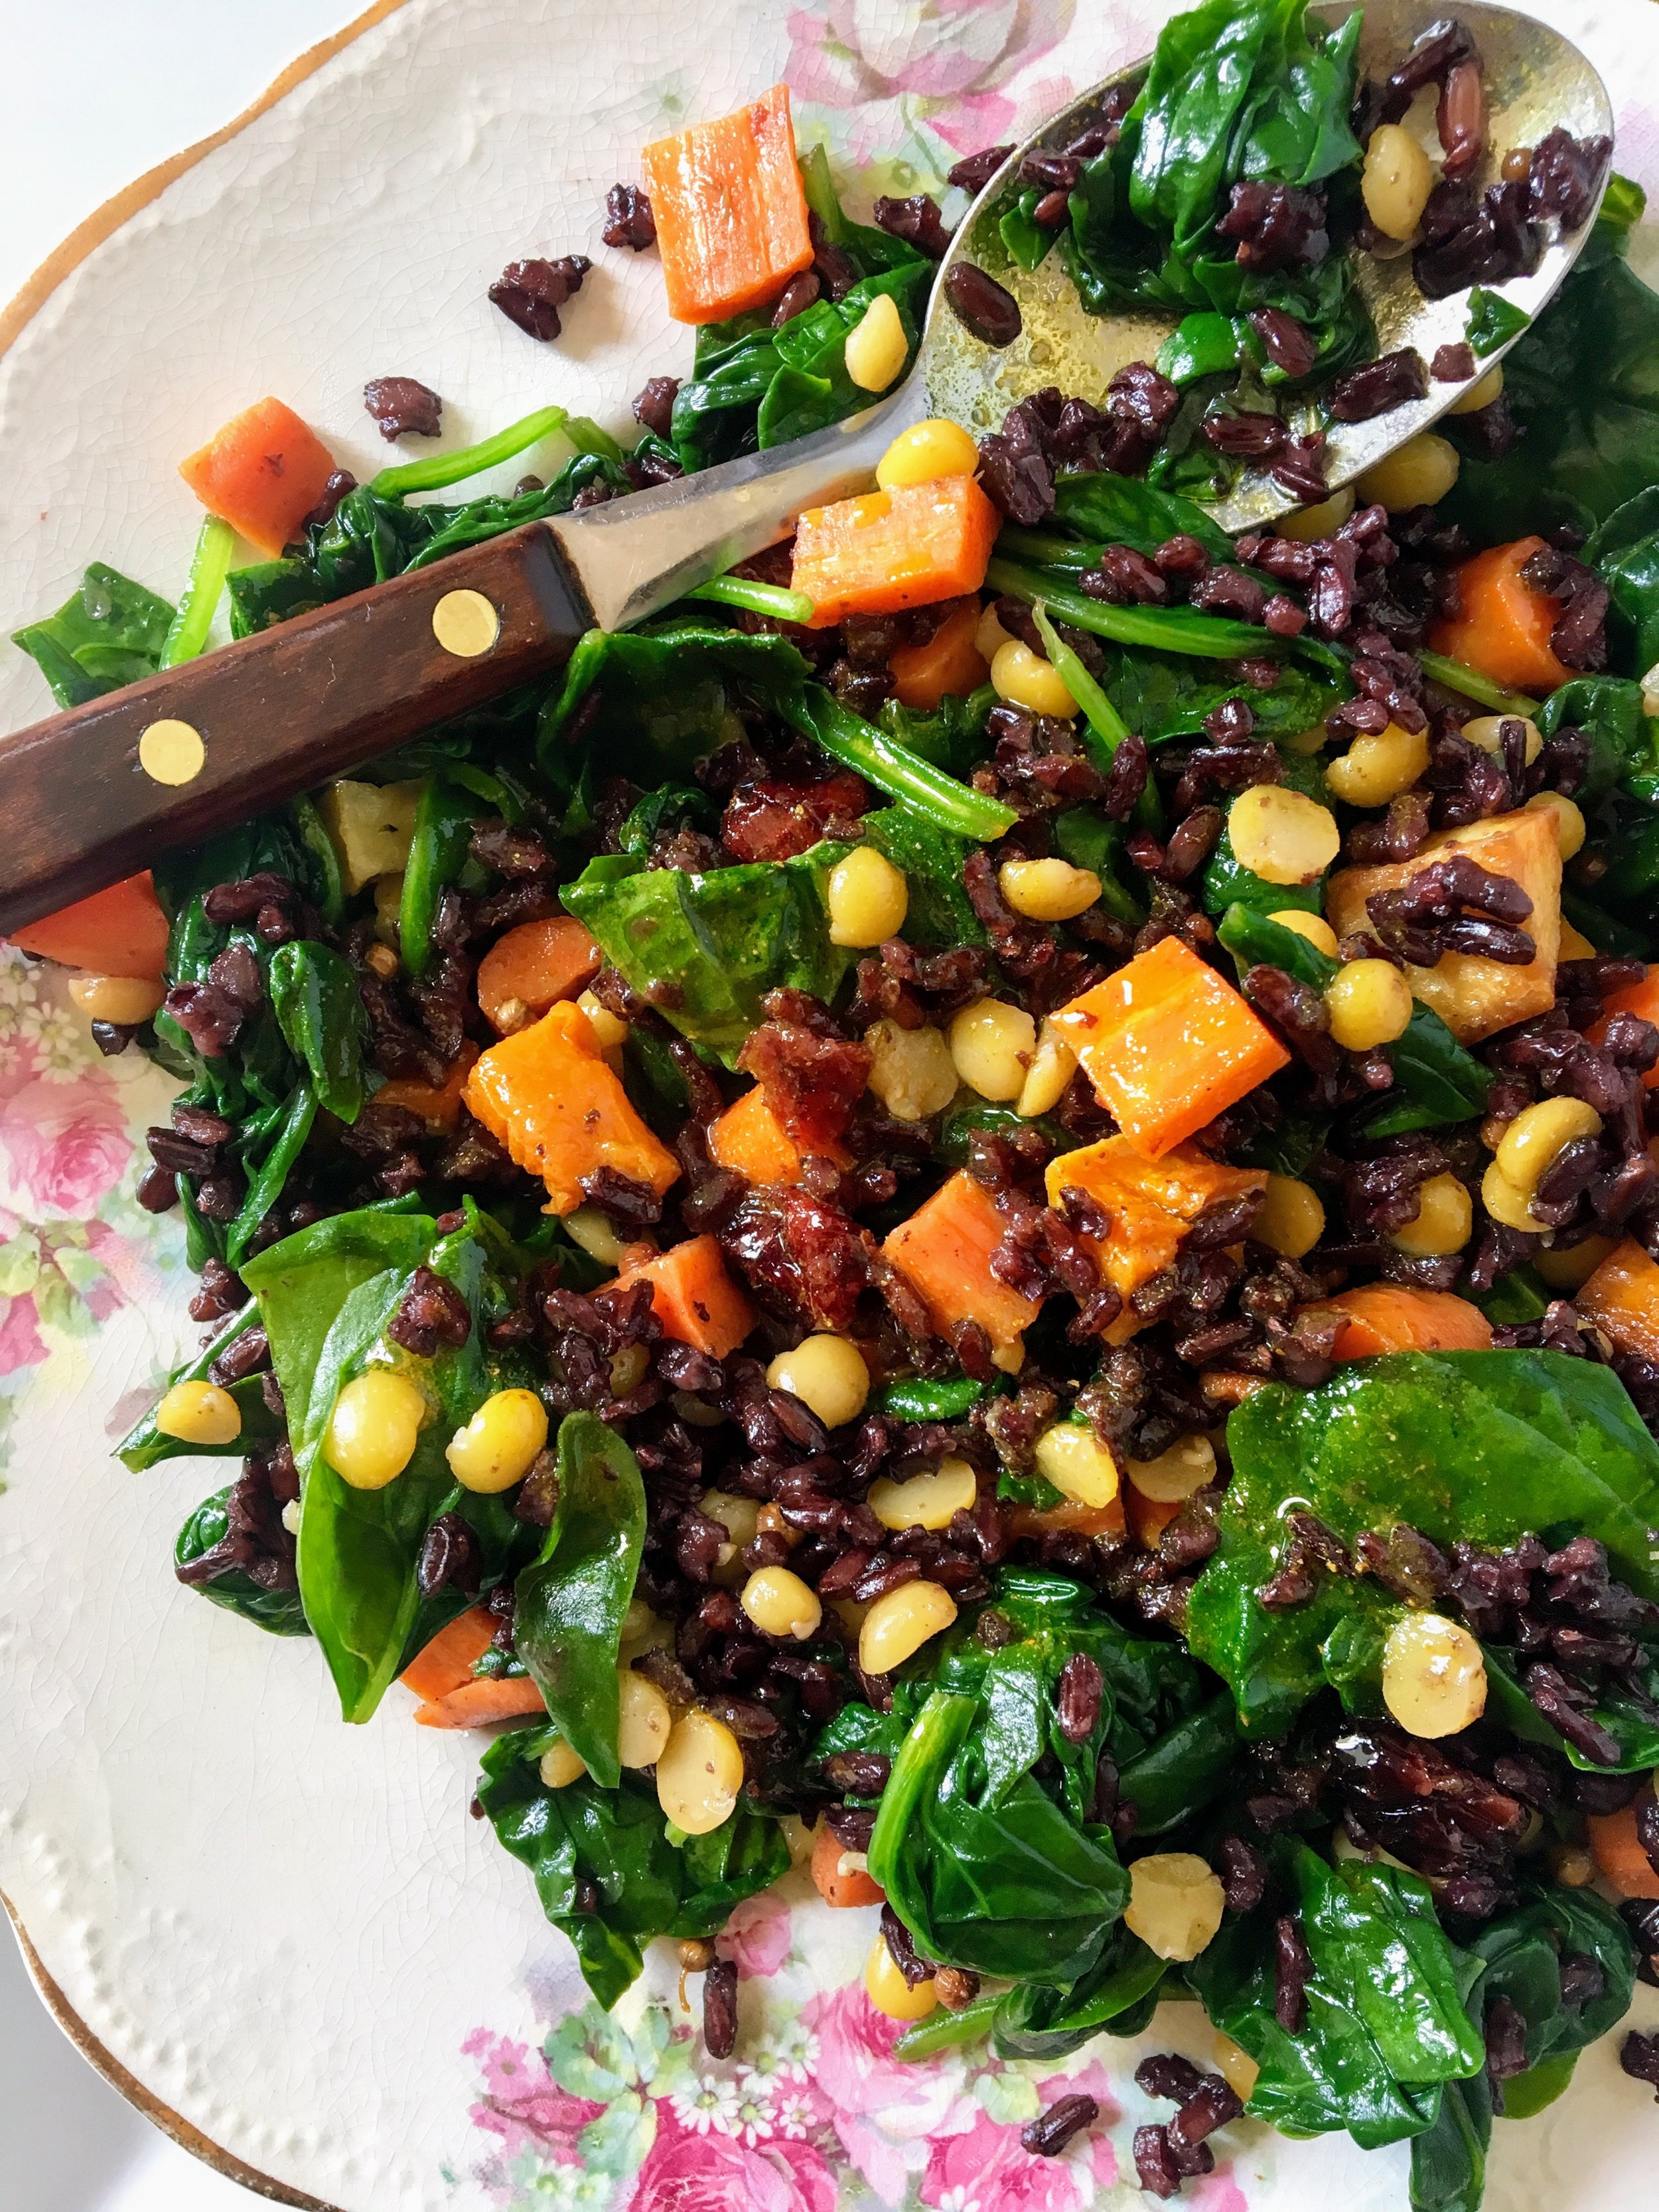
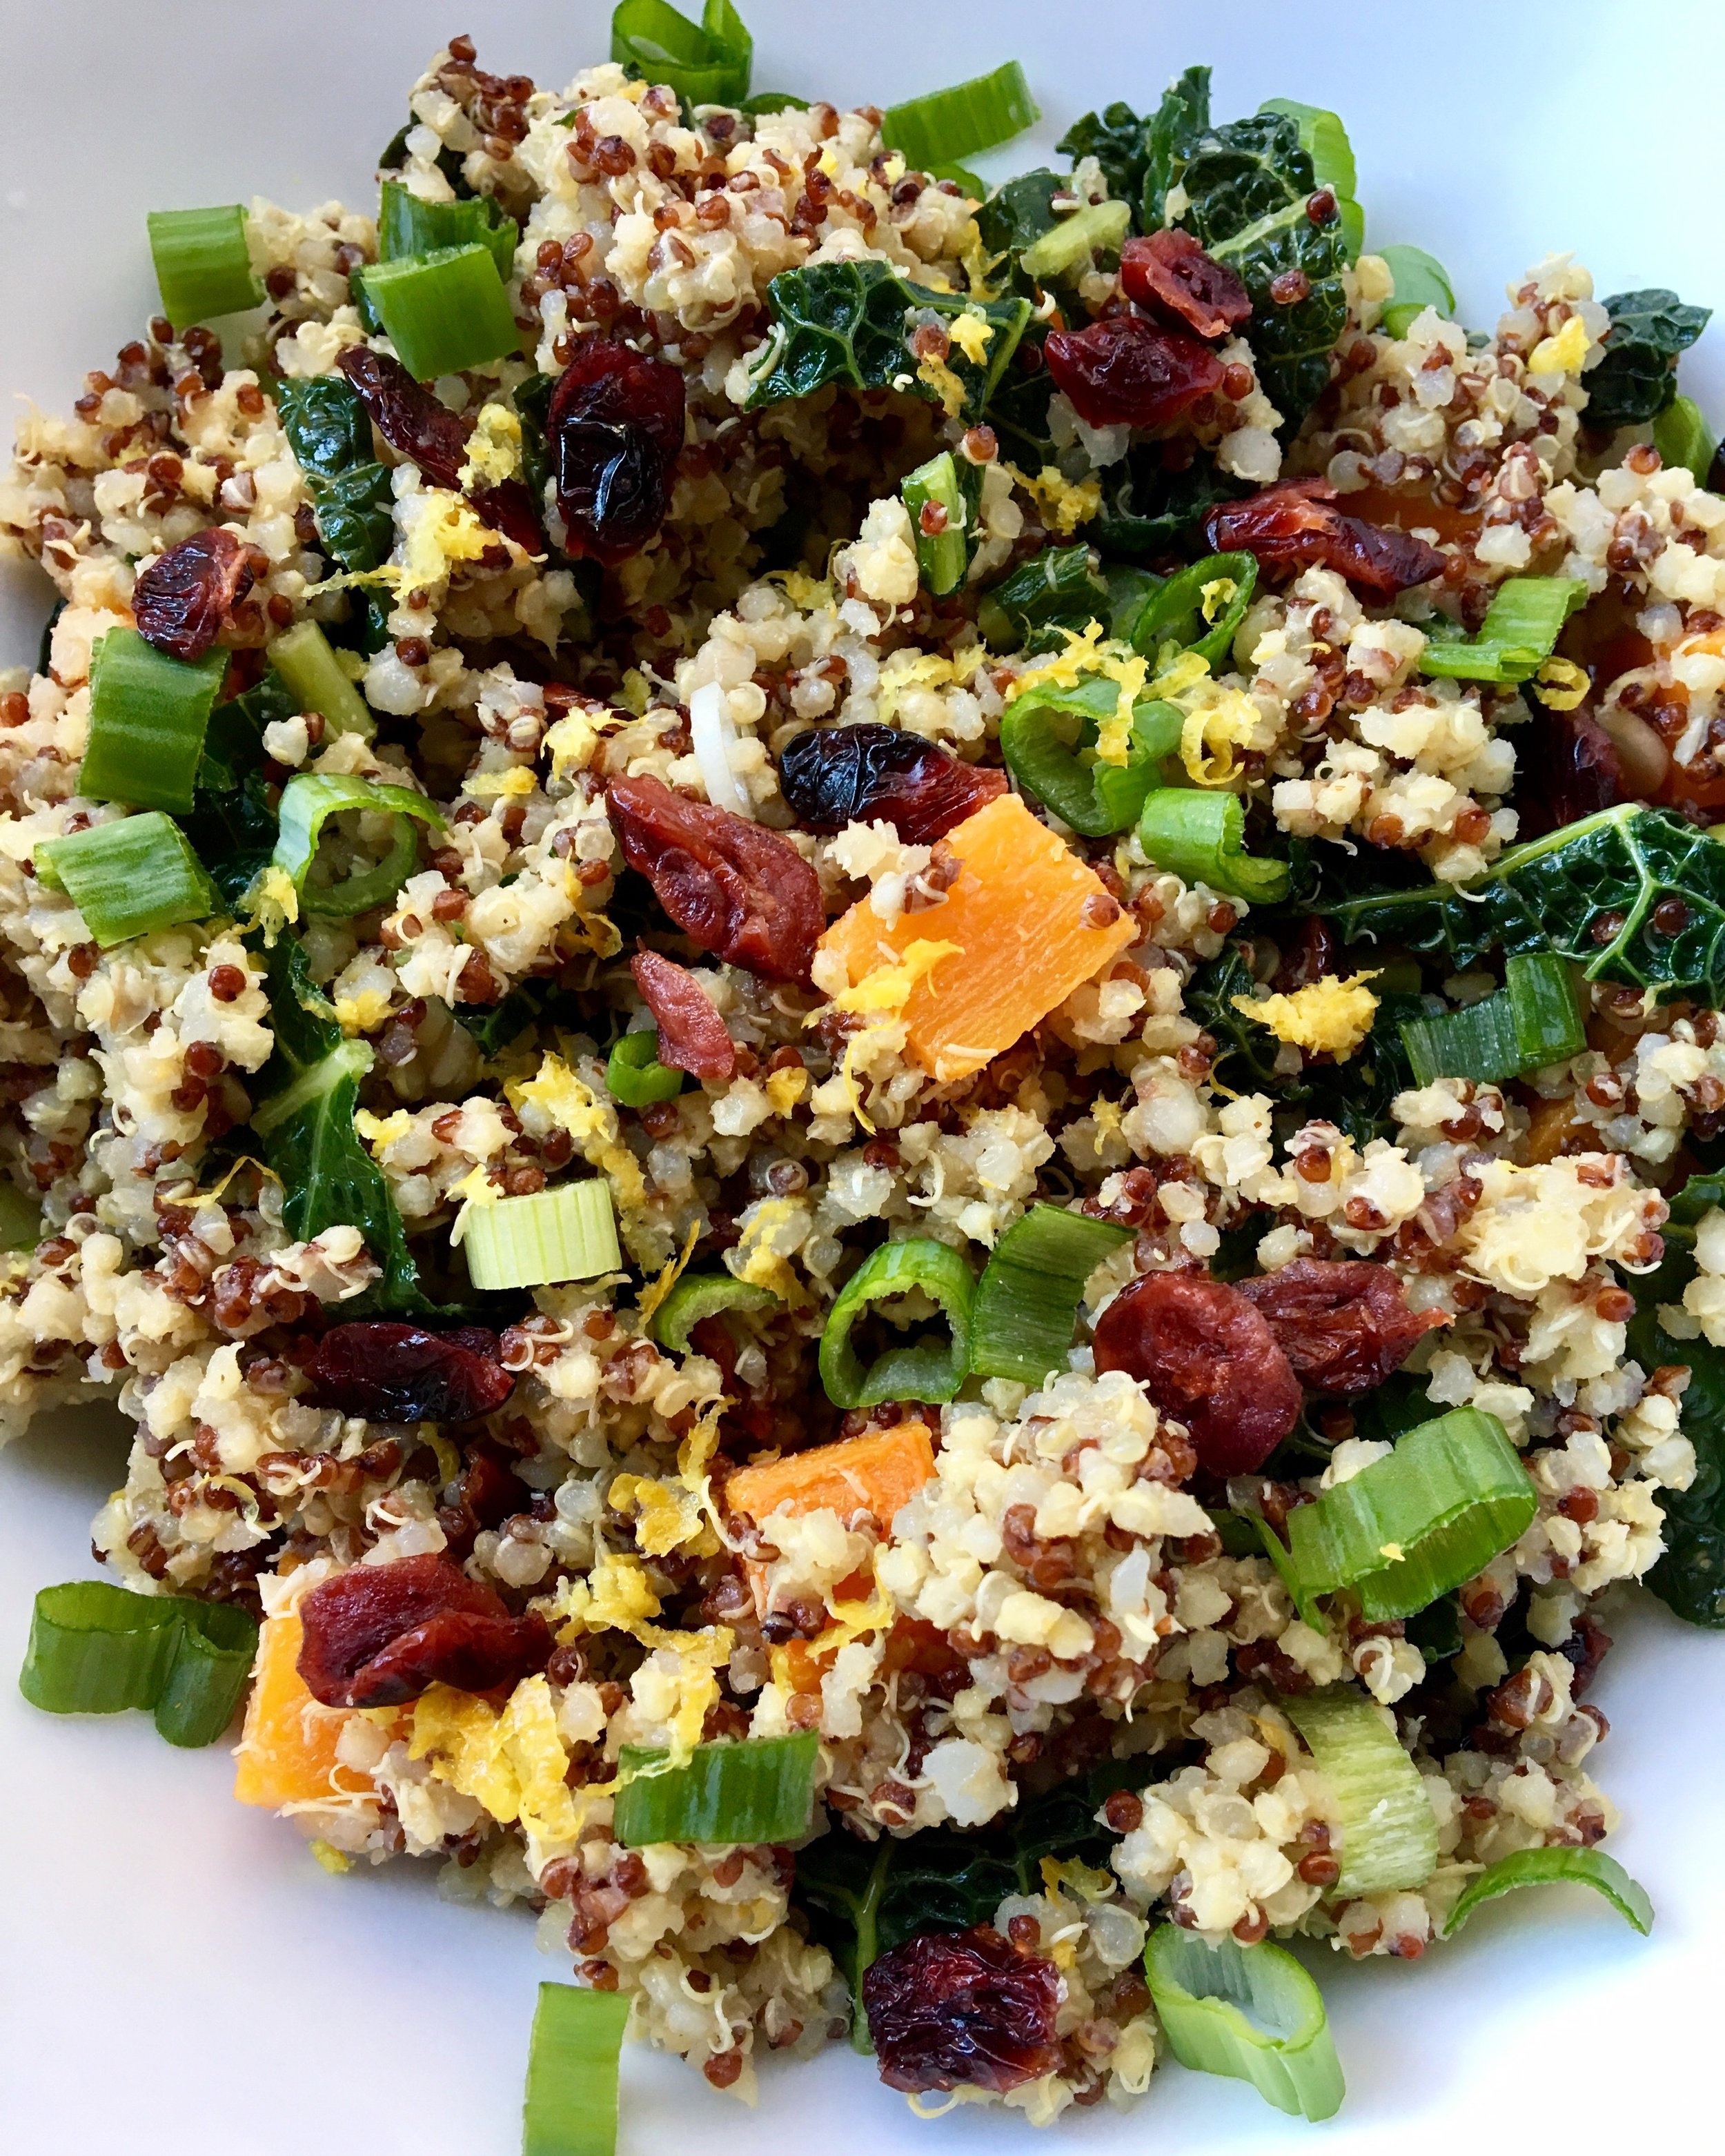
Mix veggies with greens and/or grains: I like the peppery bite of arugula and soft leaves of baby spinach when it comes to my woman sized bites. And when it comes to grains, as noted above, I usually opt for quinoa and black rice because they give provide color in each bite, while also packing protein and Vitamin E. Isn’t that lovely?
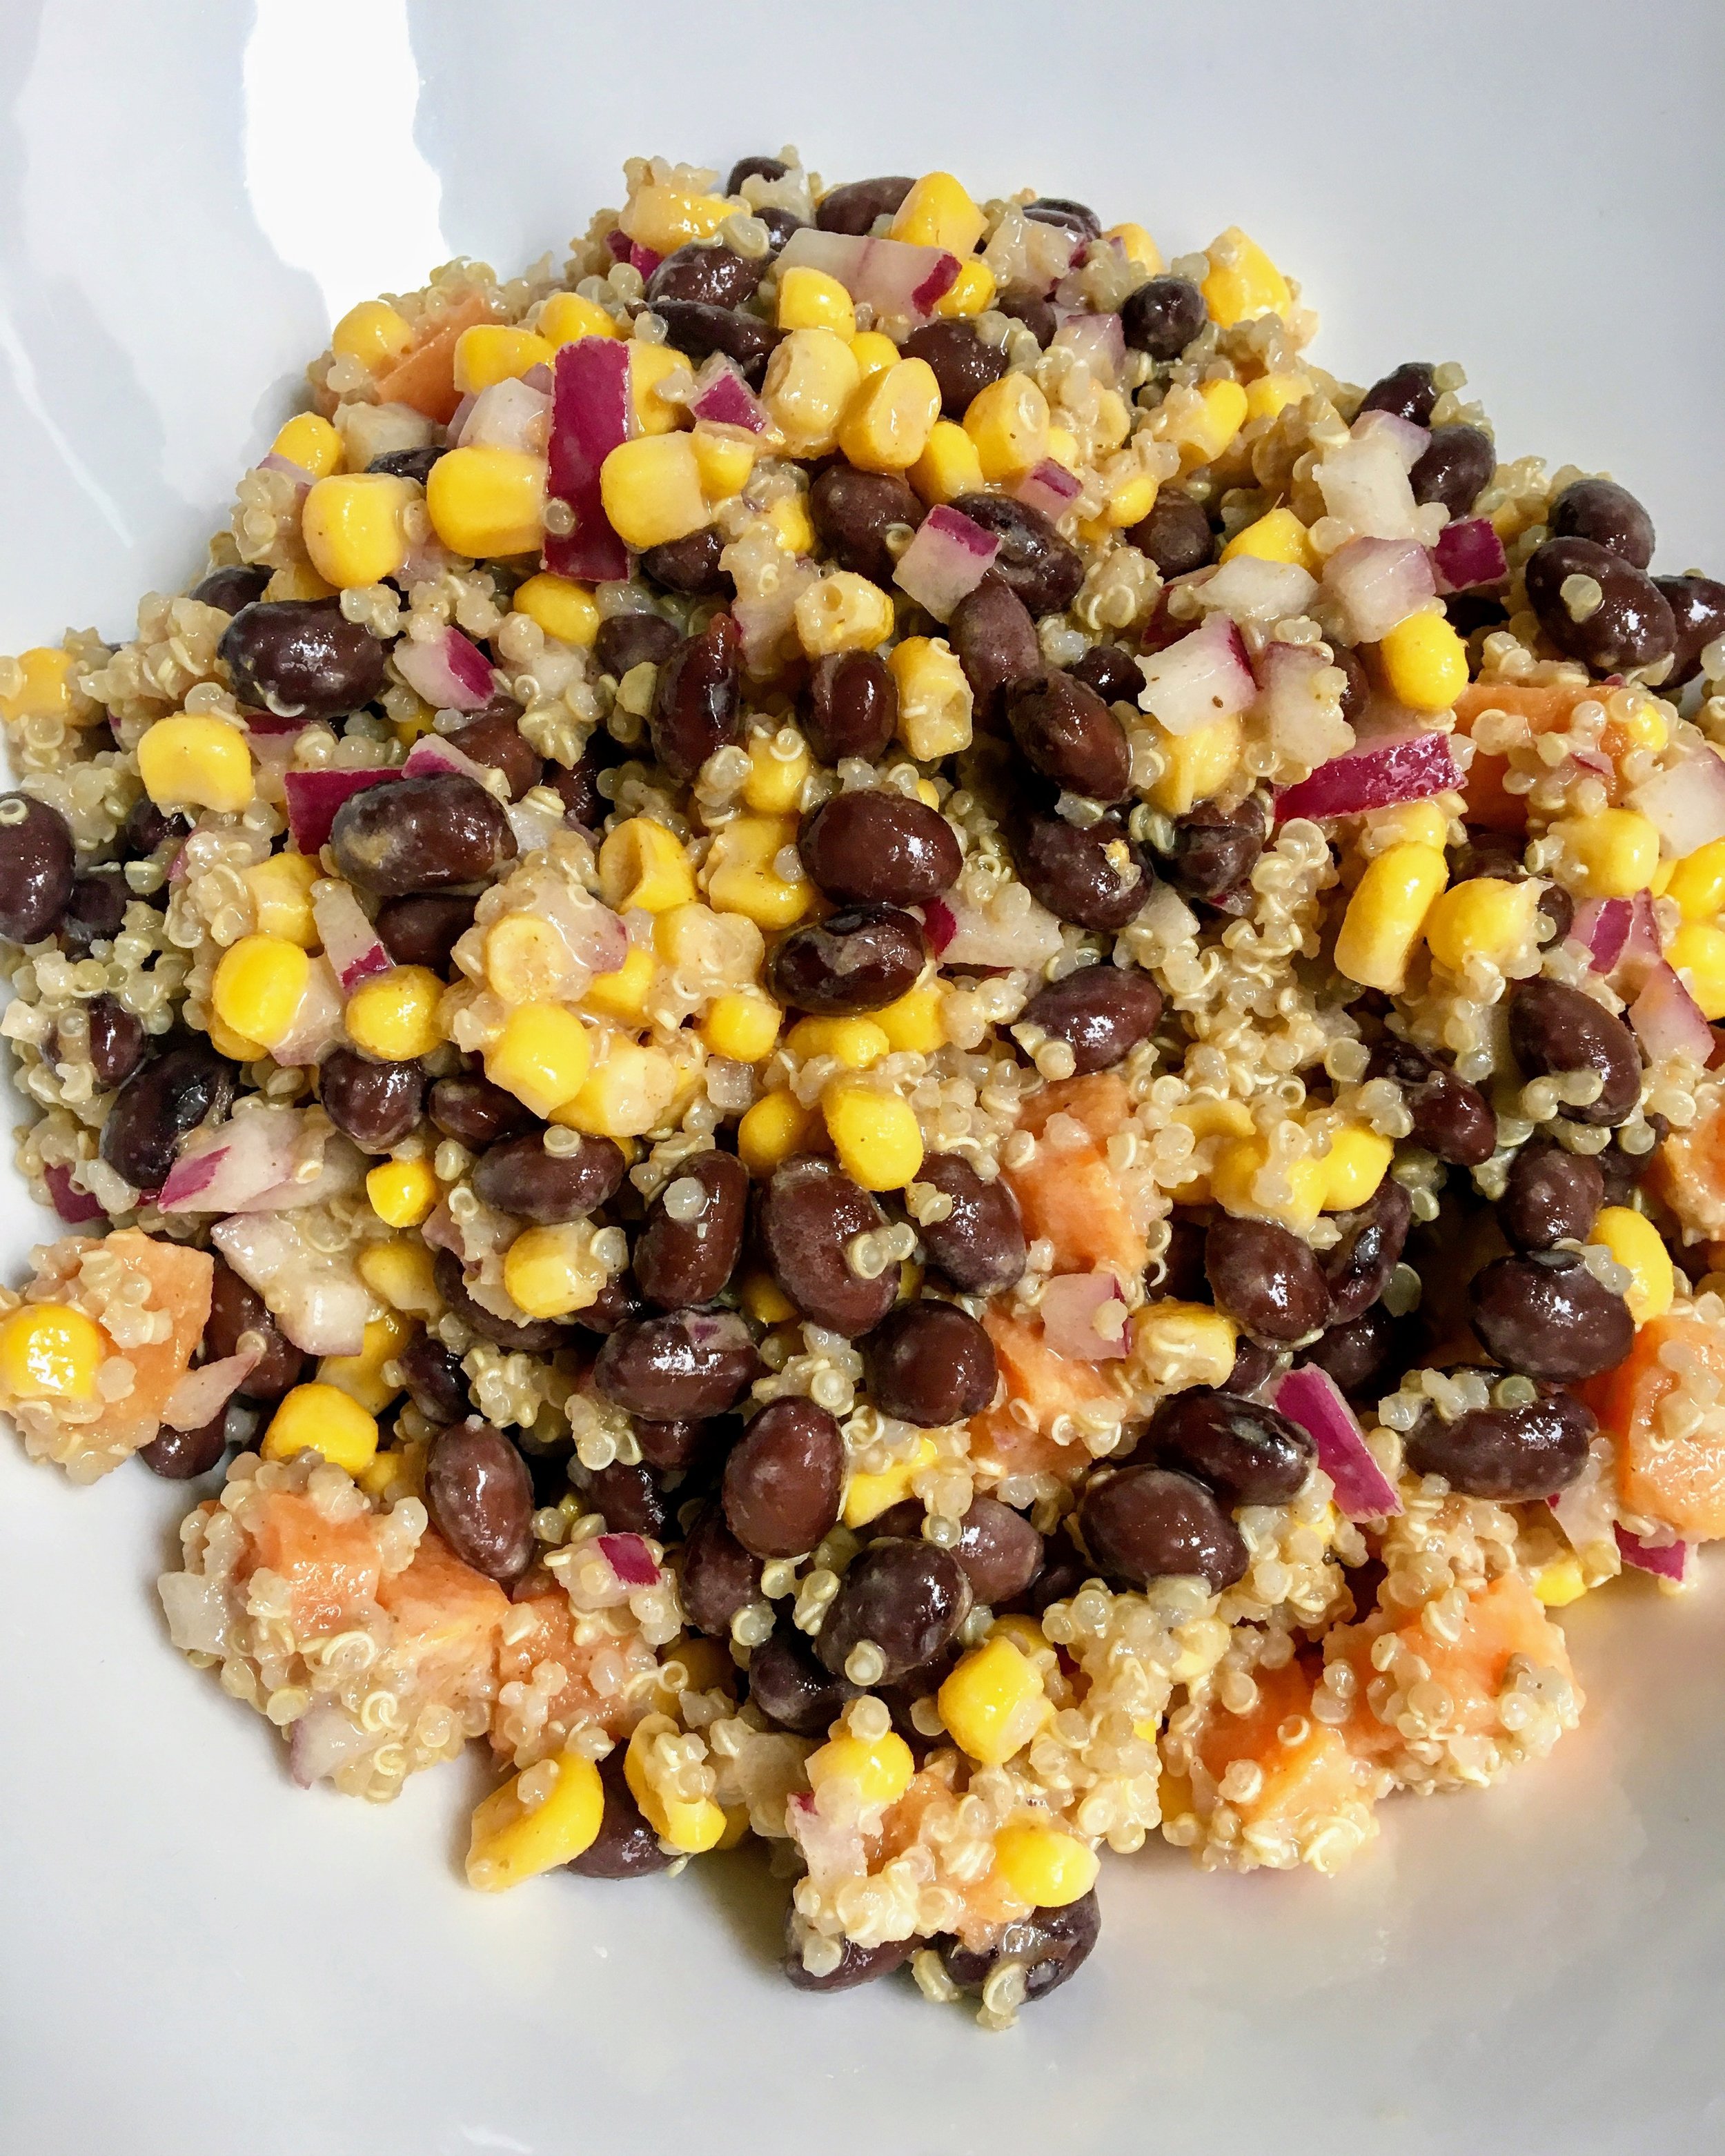
Layer with beans for a touch more protein: No need to go animal, beans will add color and protein to any bowl. Here I used black beans because that’s what was in my pantry, but I use everything from great northern, to chickpeas and the whole family of lentils when I wanna go meatless and while also enjoying a hearty fix.
Add nuts and/or dried fruit, onions or scallions for crunch, texture and even more color: It’s amazing what a little bit of crunch and texture will do to a plate and every bite. These items may seem like no big deal, but they’ll make your palate jump for joy. Remember, part of satisfaction with food comes from what we see and what we feel in our mouths when we’re eating.
Top with cheese if you please: Good feta and pecorino are my two standard staples for grating and crumbling, easy to toss with salads, beans, pastas, grains, to use on toasts, etc.
Dress to impress: When in doubt, a little lemon and olive oil or a good balsamic and olive oil will always do the trick. Add a touch of salt and pepper to bring out the flavors and your mission is complete. The rule of thumb with making a dressing is: 3 parts oil to 1 part acid = 3 tablespoons of oil to every 1 tablespoon of acid/vinegar, pinch of salt, a grind of pepper and boom!
Eat until your heart’s content: You’ll be happy you put a little bit of time into the front of your week by purchasing a few veggies and getting down to clown in the kitchen!
XO